
Google เปิดตัว ADK for Kotlin 1.0 ยกระดับการสร้าง AI Agent บน Android และ Server แบบมืออาชีพ
9 ก.ย. 2026
วันนี้ เรามีความยินดีที่จะประกาศเปิดตัว Agent Development Kit (ADK) for Kotlin เวอร์ชัน 1.0 รุ่นใช้งานทั่วไป (General Availability) อย่างเป็นทางการ นักพัฒนาสามารถเข้าไปศึกษาโค้ดเพื่อเริ่มสร้าง Agent ตัวแรกได้ที่ GitHub repository หรือดูรายละเอียดเพิ่มเติมที่ documentation
นับตั้งแต่เราเปิดตัว ADK for Kotlin 0.1.0 ภารกิจหลักของเราคือการทำให้การพัฒนา AI Agent เป็นเรื่องง่าย มีความเบา และยืดหยุ่นในรูปแบบ Idiomatic Kotlin สำหรับนักพัฒนาทั้งสาย Kotlin, Java และ Android ซึ่งตลอดหลายเดือนที่ผ่านมา เราได้ขัดเกลาเฟรมเวิร์กนี้จนพร้อมสำหรับการใช้งานในระดับโปรดักชันอย่างเต็มตัว
ในเวอร์ชัน 1.0 นี้ ADK for Kotlin มาพร้อมฟีเจอร์ที่เทียบเท่ากับ ADK 1.0 Core อย่างสมบูรณ์ และยังเพิ่มส่วนขยายพิเศษที่เน้นการทำงานบนอุปกรณ์ Android (Android-first, on-device extensions) โดยเฉพาะ ไม่ว่าจะเป็นการรัน Agent บนเครื่องเพื่อความเป็นส่วนตัวผ่าน LiteRT-LM และ ML Kit (beta) ไปจนถึงการจัดการเวิร์กโฟลว์บนคลาวด์ผ่าน Firebase AI Logic หรือการคงสถานะของ Agent ด้วย Room และ AppSearch
อย่างไรก็ตาม ADK for Kotlin ไม่ได้จำกัดอยู่แค่บน Android เท่านั้น แต่นักพัฒนาฝั่ง Server ยังสามารถเขียนโค้ด Kotlin ที่เป็นธรรมชาติเพื่อสร้าง Enterprise-ready agents และแอปพลิเคชันอัจฉริยะได้เช่นกัน
ตัวเฟรมเวิร์กถูกสร้างขึ้นบนโครงสร้าง Kotlin Multiplatform (KMP) ที่มีความเป็นกลางต่อโมเดล (Model-agnostic) และระบบหน่วยความจำต่างๆ โดยเวอร์ชัน 1.0 ได้รวมความสามารถในการจัดการ Multi-agent ทั้งแบบ Local และ Cloud เข้ากับส่วนขยาย Android แบบ Plug-and-play เพื่อให้นักพัฒนาสายโมบายล์ใช้งานได้ทันที
ADK for Kotlin 1.0 ทำงานร่วมกับ ADK Python และ Java ได้อย่างราบรื่น โดยนำเสนอรูปแบบการจัดการ Multi-agent ขั้นสูง ดังนี้:
- Hierarchical multi-agent systems: เชื่อมต่อและมอบหมายงานให้ Agent ย่อยที่มีความเชี่ยวชาญเฉพาะทาง
- Context compaction & multi-turn conversations: สรุปประวัติการสนทนาเพื่อรักษาบริบทให้อยู่ในขีดจำกัดของ Token
- Human-in-the-loop (HITL) & confirmation flows: ระบบหยุดรอการยืนยันจากผู้ใช้ก่อนเริ่มดำเนินการที่สำคัญ
- Long-running & annotation-based tools: สร้าง Schema อัตโนมัติสำหรับเครื่องมือใน Kotlin ผ่าน
@Toolและ@Paramannotations - Session Resumability: หยุดพักและกู้คืนสถานะการทำงานของ Agent ข้ามเซสชันได้
- First-party Java interoperability: เรียกใช้งาน ADK Kotlin agents จากแอป Java เดิมได้ทันที
- Enterprise Agent Platform (VertexAI) integration: รองรับ
VertexAiSessionService,VertexAiRagMemoryServiceและVertexAiMemoryBankService
ลองมาดูตัวอย่างการใช้งานจริงในการสร้าง Agent สำหรับคัดกรองปัญหาในระบบ (Incident triage & diagnostics) ซึ่งจะใช้ความสามารถของ Function calling และ Agent skill ใน ADK ได้แก่:
- Tools (
@Tool): คำสั่งที่รันได้จริงและมีความปลอดภัยทางประเภทข้อมูล (Type-safe) เช่น การเรียก API หรือสอบถามเมตริก - Skills (
SkillToolset): คู่มือปฏิบัติงาน (Playbooks) ที่โหลดมาใช้งานตามสถานการณ์แบบ Progressive disclosure ผ่านไฟล์SKILL.mdหรือเทมเพลตต่างๆ
ADK ใช้เทคโนโลยี KSP (Kotlin Symbol Processing) เพื่อสร้างคำจำกัดความของการเรียกฟังก์ชันตั้งแต่ตอนคอมไพล์ (Compile time) ทำให้ได้ Schema ที่ปลอดภัย รองรับฟังก์ชัน suspend และที่สำคัญคือ ไม่มีการใช้ runtime reflection ซึ่งช่วยเพิ่มประสิทธิภาพอย่างมาก
นักพัฒนาสามารถกำหนดบริการได้ง่ายๆ ผ่าน Kotlin Data classes:
data class ServiceMetrics(
    val serviceName: String,
    val cpuUsagePercent: Double,
    val connectionPoolUsagePercent: Double,
    val activeConnections: Int,
    val maxConnections: Int,
    val p99LatencyMs: Int,
    val errorRatePercent: Double,
)
data class DeploymentInfo(
    val deploymentId: String,
    val serviceName: String,
    val gitCommit: String,
    val author: String,
    val deployedMinutesAgo: Int,
    val description: String,
)
และสร้างฟังก์ชันผ่าน @Tool และ @Param ดังนี้:
class InfrastructureDiagnosticsService {
    @Tool
    suspend fun getServiceMetrics(
        @Param("Target service or database cluster") serviceName: String,
        @Param("Time window in minutes") windowMinutes: Int? = 15,
    ): ServiceMetrics {
        // Query monitoring backends (Datadog, Prometheus, Cloud Monitoring)
        return ServiceMetrics(
            serviceName = serviceName,
            cpuUsagePercent = 91.4,
            connectionPoolUsagePercent = 98.5,
            activeConnections = 492,
            maxConnections = 500,
            p99LatencyMs = 2450,
            errorRatePercent = 4.2,
        )
    }
    @Tool
    fun fetchRecentDeployments(
        @Param("Target service identifier") serviceName: String
    ): List<DeploymentInfo> {
        return listOf(
            DeploymentInfo(
                deploymentId = "deploy-9842",
                serviceName = serviceName,
                gitCommit = "a1b2c3d",
                author = "[email protected]",
                deployedMinutesAgo = 25,
                description = "Add unindexed batch query to user profile sync job",
            )
        )
    }
    @Tool
    fun notifyOnCall(
        @Param("Channel to notify, e.g. '#production-alerts'") channel: String,
        @Param("Diagnostic summary message") message: String,
        @Param("Severity: INFO, WARNING, CRITICAL") severity: String? = "WARNING",
    ): String {
        println(">>> [CHAT-OPS] Broadcasting [$severity] to $channel: $message")
        return "Notification posted successfully."
    }
}
ในระหว่าง Build time ตัว KSP จะสร้าง Extension function InfrastructureDiagnosticsService().generatedTools() ให้โดยอัตโนมัติ
นอกจากนี้ แทนที่จะเขียนขั้นตอนการแก้ไขปัญหาลงในโค้ด คุณสามารถวางขั้นตอนมาตรฐาน (SOP) ไว้ในไฟล์ src/main/resources/skills/database-incident-triage/SKILL.md ได้โดยตรง:
---
name: database-incident-triage
description: Standard operating procedure for diagnosing database latency spikes and connection pool saturation.
allowed-tools: [getServiceMetrics, fetchRecentDeployments, notifyOnCall]
---
# Database Incident Triage SOP
1. **Telemetry**: Call `getServiceMetrics` to inspect CPU, latency, and pool saturation.
2. **Correlation**: Call `fetchRecentDeployments` to check for recent code/schema changes.
3. **Safety Rules**: Inspect `assets/mitigation_rules.txt` with `load_skill_resource` before taking action. Never restart primary nodes during peak hours.
4. **Notify**: Broadcast root-cause diagnosis to `#production-alerts` with `notifyOnCall`.
Skills สามารถรวมไฟล์เสริมต่างๆ (เช่น assets/mitigation_rules.txt) ซึ่งโมเดลจะเรียกใช้เมื่อจำเป็นเท่านั้นเพื่อประหยัด Token (Progressive Disclosure)
จากนั้นเราสามารถตั้งค่า Agent แบบ Declarative ได้ดังนี้:
object IncidentTriageDemoAgent {
    val rootAgent = LlmAgent(
        name = "incident_triage_agent",
        model = Gemini(name = "gemini-3.8-flash"),
        instruction = Instruction(
            """
            You are an SRE on-call diagnostic assistant.
            When an alert is reported:
            1. Discover available triage playbooks and load the matching SOP using `load_skill`.
            2. Follow the playbook steps strictly, loading skill resources if needed.
            3. Use your diagnostics tools to inspect telemetry and notify the team.
            """.trimIndent()
        ),
        // 1. Compile-time generated function tools (zero reflection)
        tools = InfrastructureDiagnosticsService().generatedTools(),
        // 2. Dynamic skill toolset (provides list_skills, load_skill, load_skill_resource)
        toolsets = listOf(SkillToolset(NewFileSystemSource(resolveSkillsDir()))),
    )
}
เมื่อพร้อมแล้ว เราจะรัน Agent ผ่าน Kotlin Coroutines และ InMemoryRunner:
fun main() = runBlocking {
    val runner = InMemoryRunner(
        agent = IncidentTriageDemoAgent.rootAgent,
        appName = "IncidentTriageApp"
    )
    val alert = "ALERT [P1]: Database latency spike detected on 'users-postgres-cluster'! "
              + "Active connections are surging and queries are timing out."
    val events = runner.runAsync(
        userId = "oncall-sre",
        sessionId = UUID.randomUUID().toString(),
        newMessage = Content.fromText(Role.USER, alert)
    ).toList()
    for (event in events) {
        event.content?.parts?.firstOrNull()?.text?.let { println("Agent: $it") }
    }
}
เมื่อมีเหตุการณ์เกิดขึ้น Agent จะค้นหาและโหลด Skill ที่เกี่ยวข้อง ตรวจสอบเมตริกผ่าน getServiceMetrics() วิเคราะห์ต้นเหตุจาก fetchRecentDeployments() และแจ้งเตือนผ่าน #production-alerts พร้อมคำแนะนำการ Rollback ทันที
สำหรับฝั่ง Android นั้น ADK for Kotlin 1.0 มอบความสมดุลระหว่างพลังการประมวลผลบนคลาวด์กับความปลอดภัยแบบ On-device ดังนี้:
ตารางที่ 1: ส่วนขยาย Android-first และ On-device สำหรับ ADK for Kotlin 1.0
ในตัวอย่างถัดไป เราจะสร้างผู้ช่วยทางการเงินที่ใช้ Gemini 3.8 Flash ผ่าน Firebase AI ซึ่งมีการยืนยันจากมนุษย์ก่อนทำรายการสำคัญ และใช้ Room ในการเก็บประวัติแชท รวมถึง AppSearch ในการจัดการหน่วยความจำ
ขั้นแรก กำหนดเครื่องมือโอนเงินที่ต้องได้รับอนุมัติจากผู้ใช้:
// 1. Sensitive Tool requiring human confirmation
class BankTransferTools {
    @Tool(
        name = "transferFunds",
        description = "Transfers money to another account. Requires explicit user approval.",
        requireConfirmation = true
    )
    fun transferFunds(
        @Param("Recipient account ID") recipientId: String,
        @Param("Amount in USD") amount: Double
    ): String {
        println(">>> [BANKING CORE] Executing transfer of \$$amount to $recipientId...")
        return "Successfully scheduled transfer of \$$amount to $recipientId. Ref: TX-${System.currentTimeMillis()}"
    }
}
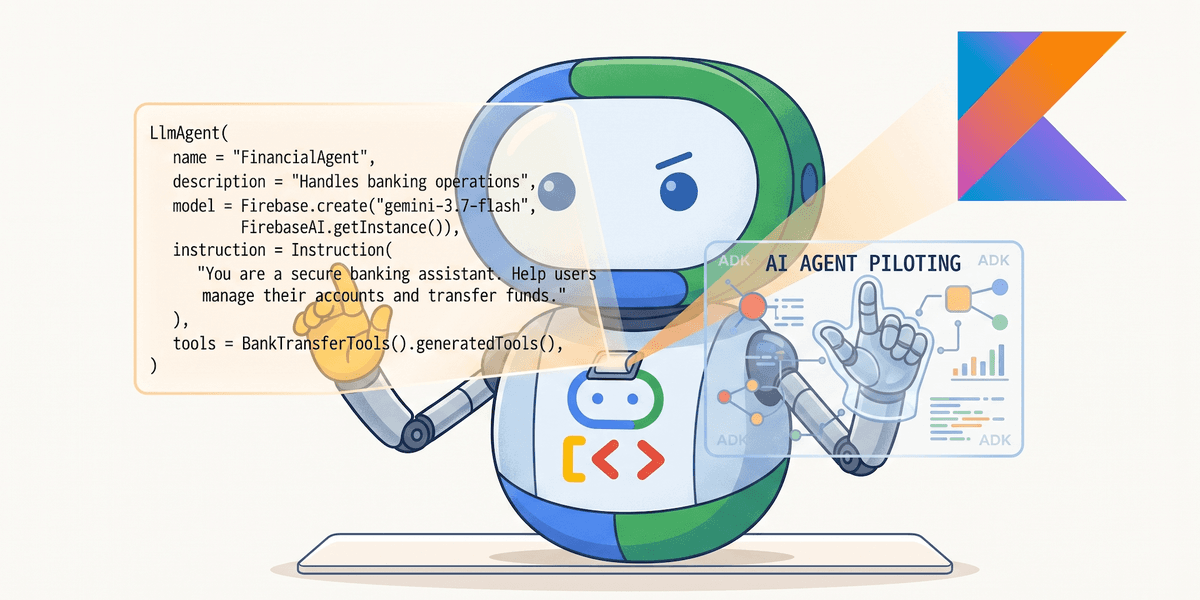
จากนั้นกำหนดค่า Agent ผ่าน Firebase AI:
// 2. Define the Agent backed by Firebase AI (Gemini 3.8 Flash)
fun createFinancialAgent(): LlmAgent {
    val firebaseAi = FirebaseAI.getInstance(FirebaseApp.getInstance())
    return LlmAgent(
        name = "FinancialAgent",
        description = "Handles banking inquiries and scheduled fund transfers",
        model = Firebase.create("gemini-3.8-flash", firebaseAi),
        instruction = Instruction(
            "You are a secure banking assistant. Help users manage their accounts and transfer funds."
        ),
        tools = BankTransferTools().generatedTools()
    )
}
ตั้งค่า InMemoryRunner เพื่อใช้งานระบบจัดเก็บข้อมูลของ Android:
// 3. Configure the Runner with Persistent Android Storage Services
fun createAndroidRunner(applicationContext: Context, agent: LlmAgent): InMemoryRunner {
    return InMemoryRunner(
        agent = agent,
        appName = "AndroidFinancialApp",
        // SQLite persistence for chat history across reboots / process death
        sessionService = RoomSessionService.fromContext(applicationContext),
        // On-device full-text indexed memory with AndroidX AppSearch
        memoryService = AppSearchMemoryService.fromContext(applicationContext),
        // App-private file storage for generated statements/receipts
        artifactService = FileArtifactService.fromExternalFilesDir(applicationContext)
    )
}
และสุดท้ายคือการรัน Agent ที่รองรับการโต้ตอบแบบหลายรอบและการขออนุมัติจากผู้ใช้ (HITL):
// 4. Multi-turn Human-in-the-Loop Execution
suspend fun runFinancialDemo(runner: InMemoryRunner) {
    val userId = "user-123"
    val sessionId = "session-${UUID.randomUUID()}"
    suspend fun sendTurn(message: Content): List<Event> {
        val events = runner.runAsync(userId = userId, sessionId = sessionId, newMessage = message).toList()
        for (event in events) {
            event.content?.parts?.firstOrNull()?.text?.let { println("Agent: $it") }
        }
        return events
    }
    // --- Turn 1: User requests transfer (Agent pauses execution)
    println("User: Please transfer $50 to account ACCT-9876.\n")
    val turn1Events = sendTurn(
            Content.fromText(Role.USER, "Please transfer $50 to account ACCT-9876."))
    // Intercept the synthetic confirmation request emitted by ADK
    val confirmationRequestId = turn1Events
        .flatMap { it.functionCalls() }
        .firstOrNull { it.name == FunctionCall.REQUEST_CONFIRMATION_FUNCTION_CALL_NAME }
        ?.id ?: return
    println("\n[UI]: Sensitive action detected. User tapped [Confirm Transfer].\n")
    // --- Turn 2: User confirms in the Android UI (Resumes & executes transferFunds)
    val approvalMessage = Content(
        role = Role.USER,
        parts = listOf(
            Part(
                functionResponse = FunctionResponse(
                    name = FunctionCall.REQUEST_CONFIRMATION_FUNCTION_CALL_NAME,
                    id = confirmationRequestId,
                    response = mapOf(ToolConfirmation.CONFIRMED_KEY to true)
                )
            )
        )
    )
    sendTurn(approvalMessage)
}
(หมายเหตุ: ตัวอย่างนี้เพื่อการสาธิตเท่านั้น ไม่ได้ออกแบบมาเพื่อสอดคล้องกับกฎระเบียบทางการเงินจริง)
📊 เปรียบเทียบฟีเจอร์ ADK for Kotlin — Core vs Android
ตารางที่ 2: การเปรียบเทียบฟีเจอร์ของ ADK for Kotlin ระหว่าง Core (Server) และ Android
หากต้องการเริ่มใช้งาน สามารถเพิ่ม Dependency ใน build.gradle.kts ของคุณได้ดังนี้:
dependencies {
    // ADK Kotlin Core Engine + KSP Processor
    implementation("com.google.adk:google-adk-kotlin-core:1.0.0")
    ksp("com.google.adk:google-adk-kotlin-processor:1.0.0")
    // Optional Android-first extensions:
    implementation("com.google.adk:google-adk-kotlin-mlkit-android:1.0.0-beta")
    implementation("com.google.adk:google-adk-kotlin-litertlm:1.0.0")
    implementation("com.google.adk:google-adk-kotlin-firebase-android:1.0.0")
}
คุณสามารถศึกษาข้อมูลเพิ่มเติมและดูตัวอย่างทั้งหมดได้ที่:
- adk.dev
- github.com/google/adk-kotlin
- ADK Kotlin modules documentation
- Building Android agents with ADK
- All Kotlin examples
- ADK Kotlin Java sample
ไม่ว่าคุณจะพัฒนาบน JVM หรือ Android เรายินดีอย่างยิ่งที่จะได้เห็นสิ่งที่คุณสร้างจาก ADK for Kotlin! อย่าลืมกด Star ให้กับ repo และร่วมแบ่งปันความคิดเห็นกับเรา
ความคิดเห็น (0)
เข้าสู่ระบบเพื่อร่วมแสดงความเห็น
สมัครสมาชิกมาเป็นคนแรกที่แสดงความเห็นกันเลยโบร