
สร้างแอป AI ด้วย OGX: Agentic API Server แบบ Open-Source
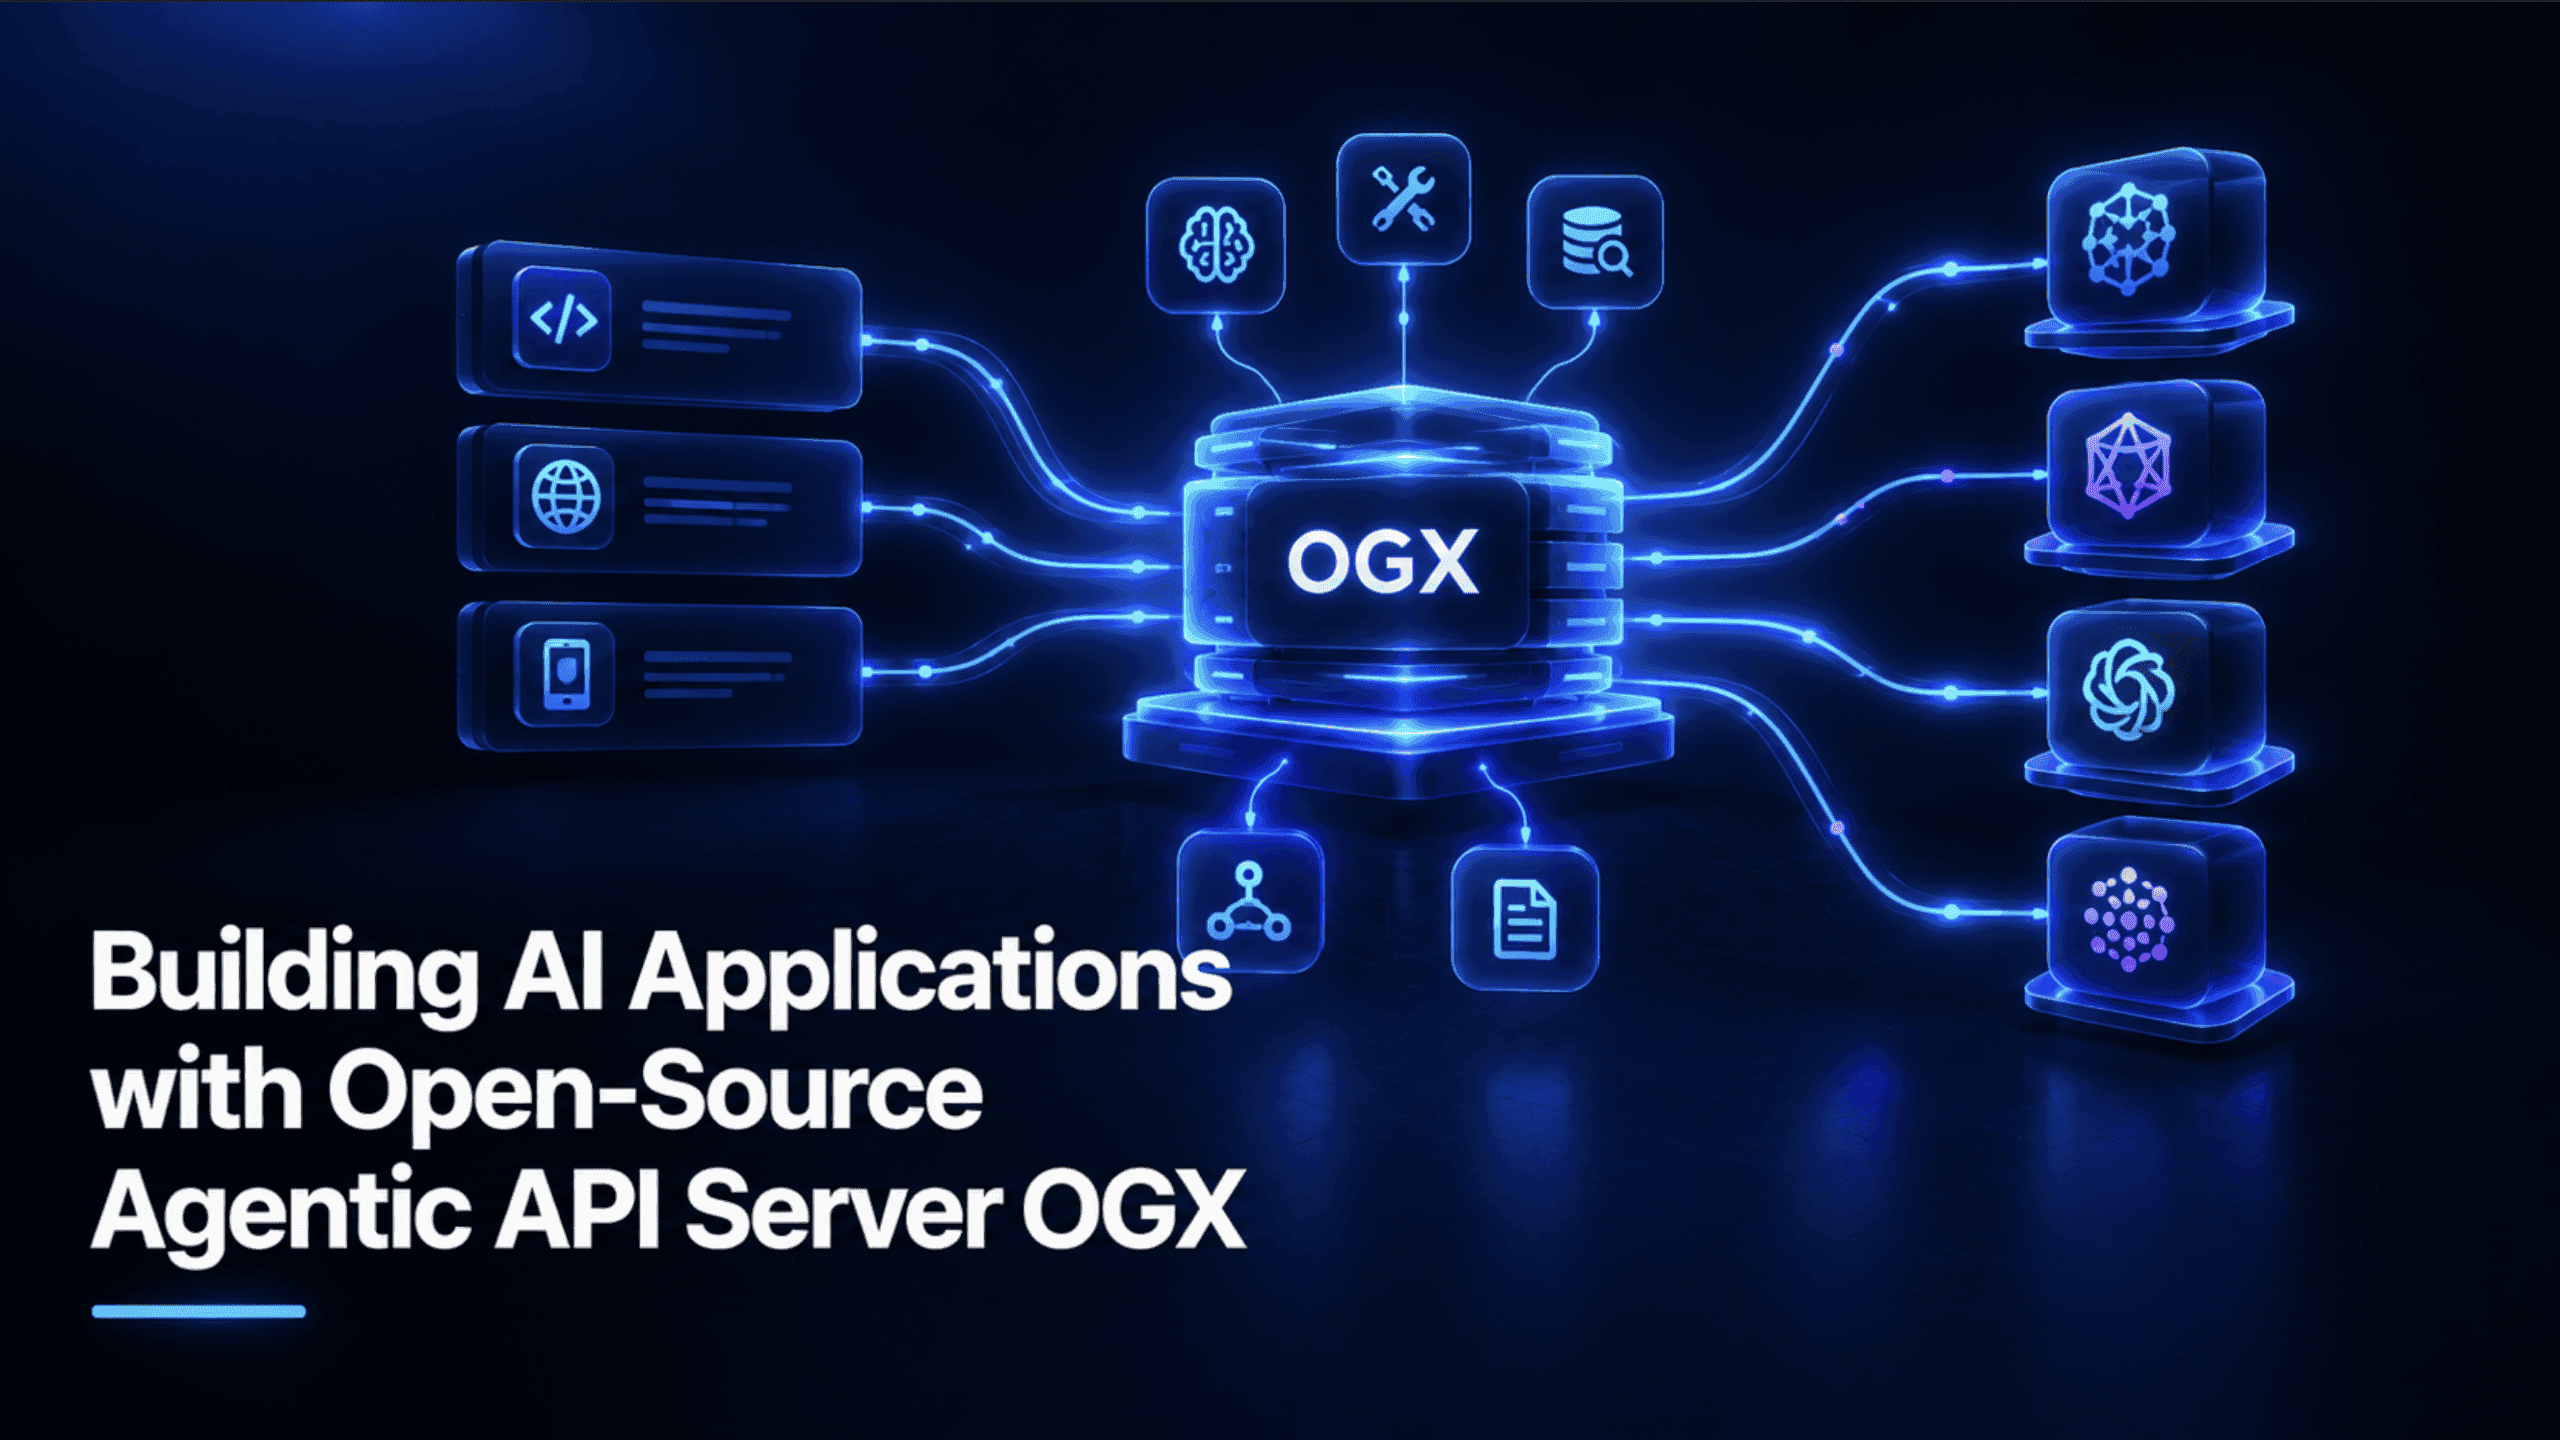
ข้อมูลสำคัญที่ควรทราบเป็นอันดับแรกคือ OGX คือการรีแบรนด์ของ Meta's Llama Stack โดยหน้า GitHub ของโครงการระบุชัดเจนว่า Llama Stack is now OGX การเปลี่ยนชื่อครั้งนี้มาพร้อมการปรับภารกิจสู่การเป็น model-agnostic ที่รองรับหลาย SDK และมีความเสถียรในระดับ production-grade
การเข้าใจจุดนี้จะช่วยลดความสับสนสำหรับผู้ที่ศึกษาเรื่อง agentic API servers หรือการพัฒนาแอป AI แบบ local เนื่องจากข้อมูลของ Llama Stack เดิมยังคงนำมาประยุกต์ใช้กับ OGX ได้โดยตรงภายใต้ชื่อใหม่นี้
OGX คืออะไร (และทำไมถึงเคยถูกเรียกว่า Llama Stack)
OGX ถูกนิยามว่าเป็น an open-source agentic API server for building AI applications, OpenAI-compatible, any model, any infrastructure เผยแพร่ภายใต้สัญญาอนุญาต MIT ปัจจุบันมียอด GitHub stars กว่า 8,400 ดวง และถูก forks ไปแล้วกว่า 1,400 ครั้ง โดยมีการพัฒนาจากชุมชนอย่างต่อเนื่อง
จุดเด่นคือการเป็นตัวแทนแบบ drop-in สำหรับ OpenAI API ที่รันได้ทั้งบนแล็ปท็อป ศูนย์ข้อมูล หรือคลาวด์ ผ่านสถาปัตยกรรม pluggable provider ที่ยืดหยุ่น คุณสามารถพัฒนาในเครื่องด้วย Ollama แล้วเปลี่ยนไปใช้ vLLM หรือบริการคลาวด์ในขั้นตอนใช้งานจริงได้ทันทีโดยไม่ต้องแก้โค้ดแอปพลิเคชัน
นอกจากนี้ Responses API ยังรองรับการจัดการฝั่งเซิร์ฟเวอร์ที่ซับซ้อน ทั้งการเรียกใช้เครื่องมือ (tool calling), การผสานรวมกับ MCP server และมีระบบค้นหาไฟล์ในตัวสำหรับทำ Retrieval-Augmented Generation (RAG) โดยรองรับทั้ง SDK ของ OpenAI, Anthropic และ Google GenAI ในเซิร์ฟเวอร์เดียว
ในบทความนี้ เราจะสร้างแอปชื่อ DocBrain ซึ่งมีความสามารถด้าน RAG ในการวิเคราะห์เอกสารและตอบคำถามได้อัตโนมัติ พร้อมฟังก์ชัน agentic ที่สามารถเรียกใช้เครื่องมือเพื่อบันทึกรายการที่ต้องดำเนินการ (action item) ลงในไฟล์บนดิสก์ได้จริง ไม่ใช่แค่การสรุปข้อความเพียงอย่างเดียว
สิ่งที่ต้องเตรียมก่อนเริ่มและการติดตั้ง OGX
คุณต้องติดตั้ง uv ซึ่งเป็นเครื่องมือจัดการแพ็คเกจ Python ที่รวดเร็ว และติดตั้ง Ollama เป็น local model backend สำหรับการทดสอบนี้
# ติดตั้ง Ollama จากนั้นดึงโมเดล
ollama pull llama3.2:3b

# ตั้งค่าโครงการจริง (ไม่ใช่คำสั่ง uvx ชั่วคราวจากการทดลองด่วน)
uv init docbrain && cd docbrain
uv add ogx openai
การใช้ uv init ช่วยสร้างโครงสร้างโครงการที่เหมาะสมสำหรับการใช้งานจริง ส่วน uv add ogx openai จะติดตั้งเซิร์ฟเวอร์ OGX และ OpenAI Python client เพื่อใช้สื่อสารกับระบบ
การเริ่มเซิร์ฟเวอร์และตรวจสอบการทำงาน
uv run ogx goหลังจากเริ่ม Ollama แล้ว คำสั่งข้างต้นจะเปิดเซิร์ฟเวอร์ OGX ที่ https://localhost:8321 คุณสามารถตรวจสอบการทำงานได้ผ่านคำสั่ง:
curl -k -s https://localhost:8321/v1/models | python -m json.tool
``` เนื่องจาก [OGX จะรอรับการเชื่อมต่อผ่าน HTTPS โดยเริ่มแรกและมีความปลอดภัยมาให้ในตัว](https://ogx-ai.github.io/docs/getting_started/quickstart) การทดสอบในเครื่องจึงต้องใช้แฟล็ก `-k` เพื่อข้ามการตรวจสอบใบรับรอง โดยการตอบกลับจะแสดงรายชื่อโมเดลที่เชื่อมต่อกับ Ollama อยู่

## การแชทพื้นฐานผ่าน Responses API

ตัวอย่างโค้ดพื้นฐานสำหรับการเชื่อมต่อกับเซิร์ฟเวอร์:

```python
import httpx
from openai import OpenAI

client = OpenAI(
    base_url="https://localhost:8321/v1",
    api_key="fake",
    http_client=httpx.Client(verify=False),
)

response = client.responses.create(
    model="ollama/llama3.2:3b",
    input="What is OGX?",
)
print(response.output_text)
ในตัวอย่างนี้ api_key="fake" สามารถใช้สตริงใดก็ได้เนื่องจากเป็นการรันแบบ local ส่วน http_client=httpx.Client(verify=False) ใช้เพื่อข้ามการตรวจสอบใบรับรองใน Python และ response.output_text ช่วยให้ดึงข้อความคำตอบได้ง่ายขึ้น
การเพิ่ม RAG ของจริง: การอัปโหลดเอกสารและการสร้าง Vector Store
ระบบจัดการข้อมูลของ OGX ช่วยให้การทำ RAG สะดวกและกระชับมาก:
# อัปโหลดเอกสาร
file = client.files.create(
    file=open("lease_agreement.pdf", "rb"),
    purpose="assistants",
)

# สร้าง vector store และทำดัชนีไฟล์
vector_store = client.vector_stores.create(
    name="docbrain-kb",
    file_ids=[file.id],
)

# ถามคำถามด้วย file search
response = client.responses.create(
    model="ollama/llama3.2:3b",
    input="Summarize the key points",
    tools=[{
        "type": "file_search",
        "vector_store_ids": [vector_store.id],
    }],
)
print(response.output_text)
OGX จะจัดการกระบวนการที่ซับซ้อนอย่างการแบ่งส่วนเอกสาร (chunking), การทำ embedding และการจัดทำดัชนีให้โดยอัตโนมัติที่ฝั่งเซิร์ฟเวอร์ เพียงแค่ระบุ file_search ในรายการ tools ระบบก็จะค้นหาและอ้างอิงข้อมูลจากเอกสารมาตอบให้ทันที
การเพิ่มเครื่องมือที่กำหนดเอง: การระบุและบันทึก Action Items
นี่คือส่วนของ agentic ที่ช่วยให้โมเดลสามารถเรียกใช้ฟังก์ชัน Python เพื่อบันทึกข้อมูลลงในไฟล์ได้
# tools/action_items.py
import json
import os
from datetime import datetime, timezone

ACTION_ITEMS_FILE = "action_items.jsonl"

def save_action_item(description: str, source_document: str, priority: str = "medium") -> dict:
    """Appends one action item as a JSON line to a local file."""
    if not description.strip():
        raise ValueError("description cannot be empty")
    if priority not in ("low", "medium", "high"):
        raise ValueError(f"priority must be low, medium, or high, got '{priority}'")

entry = {
        "description": description.strip(),
        "source_document": source_document.strip(),
        "priority": priority,
        "flagged_at": datetime.now(timezone.utc).isoformat(),
    }
    with open(ACTION_ITEMS_FILE, "a") as f:
        f.write(json.dumps(entry) + "\n")
    return {"status": "saved", "entry": entry}

def list_action_items() -> list[dict]:
    """Reads back every saved action item, an empty list if none exist yet."""
    if not os.path.exists(ACTION_ITEMS_FILE):
        return []
    with open(ACTION_ITEMS_FILE) as f:
        return [json.loads(line) for line in f if line.strip()]

ACTION_ITEM_TOOL_SCHEMA = {
    "type": "function",
    "name": "save_action_item",
    "description": (
        "Save a genuine, concrete action item found while reviewing a document. "
        "Only call this for real, actionable tasks, not general summary points."
    ),
    "parameters": {
        "type": "object",
        "properties": {
            "description": {"type": "string", "description": "The concrete action item, in one sentence"},
            "source_document": {"type": "string", "description": "Which uploaded document this came from"},
            "priority": {"type": "string", "enum": ["low", "medium", "high"]},
        },
        "required": ["description", "source_document"],
    },
}
การเก็บข้อมูลแบบ JSON Lines ช่วยให้การเพิ่มข้อมูลทำได้รวดเร็วและปลอดภัยแม้ระบบจะหยุดชะงัก ส่วนการกำหนด schema ที่เฉพาะเจาะจงจะช่วยป้องกันไม่ให้ AI เรียกใช้ฟังก์ชันพร่ำเพรื่อในหัวข้อที่ไม่ใช่งานที่ต้องทำจริงๆ
การประกอบเข้าด้วยกัน: Assistant ฉบับสมบูรณ์
# docbrain.py
import httpx
import json
from openai import OpenAI
from tools.action_items import save_action_item, ACTION_ITEM_TOOL_SCHEMA

client = OpenAI(
    base_url="https://localhost:8321/v1",
    api_key="fake",
    http_client=httpx.Client(verify=False),
)
MODEL = "ollama/llama3.2:3b"

def setup_knowledge_base(file_paths: list[str]) -> str:
    file_ids = []
    for path in file_paths:
        uploaded = client.files.create(file=open(path, "rb"), purpose="assistants")
        file_ids.append(uploaded.id)
    vector_store = client.vector_stores.create(name="docbrain-kb", file_ids=file_ids)
    return vector_store.id

def ask(question: str, vector_store_id: str) -> str:
    response = client.responses.create(
        model=MODEL,
        input=question,
        tools=[
            {"type": "file_search", "vector_store_ids": [vector_store_id]},
            ACTION_ITEM_TOOL_SCHEMA,
        ],
    )
    for item in response.output:
        if getattr(item, "type", None) == "function_call" and item.name == "save_action_item":
            args = json.loads(item.arguments)
            save_action_item(**args)
    return response.output_text

if __name__ == "__main__":
    vector_store_id = setup_knowledge_base(["lease_agreement.pdf", "vendor_contract.pdf"])
    answer = ask(
        "Summarize the key terms of these documents, and flag anything "
        "that needs action before a deadline.",
        vector_store_id,
    )
    print(answer)
ใน Responses API การดึงข้อมูล RAG และการเรียกใช้เครื่องมือจะถูกรวมไว้ในรายการ tools เดียวกัน โมเดลจะพิจารณาทั้งการค้นหาเอกสารและการรันฟังก์ชัน save_action_item ไปพร้อมกัน เพื่อบันทึกข้อมูลลงในไฟล์ action_items.jsonl จริงๆ
การรันโครงการทั้งหมด
เมื่อ Ollama พร้อมแล้ว ให้เปิดเทอร์มินัลแยกกันเพื่อรันเซิร์ฟเวอร์และตัวแอปพลิเคชัน:
uv run ogx go          # เทอร์มินัลที่ 1
uv run python docbrain.py    # เทอร์มินัลที่ 2
เมื่อระบบพบกำหนดเวลาหรืองานที่ต้องทำในเอกสาร ข้อมูลเหล่านั้นจะถูกบันทึกเข้าสู่ไฟล์ action_items.jsonl โดยอัตโนมัติ ซึ่งเป็นการเปลี่ยนจากข้อความคำตอบธรรมดาให้กลายเป็นข้อมูลที่ใช้งานได้จริง
บทสรุป
ความคุ้มค่าของ OGX อยู่ที่ความสามารถในการขยายขนาด (scalability) แอปพลิเคชันที่สร้างขึ้นบนโมเดล local ในวันนี้ สามารถย้ายไปรันบน production backend อย่าง vLLM หรือคลาวด์ได้ทันทีเพียงแค่เปลี่ยนค่าคอนฟิก โดยที่โครงสร้างหลักของแอปพลิเคชันยังคงเดิม
นี่คือข้อแตกต่างระหว่าง API wrapper ทั่วไปกับแพลตฟอร์มแบบ agentic ที่แท้จริง ซึ่งช่วยให้เหล่านักพัฒนาสามารถสร้างระบบ AI ที่มีประสิทธิภาพและพร้อมต่อยอดได้ในระยะยาว
ความคิดเห็น (0)
เข้าสู่ระบบเพื่อร่วมแสดงความเห็น
สมัครสมาชิกมาเป็นคนแรกที่แสดงความเห็นกันเลยโบร