
FLUX.3 Image Klein เปิดตัวสู่ Diffusers รองรับการควบคุมเลย์เอาต์
Black Forest Labs ประกาศเปิดตัว FLUX.3 Image Klein พร้อมให้ใช้งานใน Diffusers ได้ตั้งแต่วันแรก โดยโมเดลเดียวสามารถรองรับได้ทั้ง text-to-image และ multi-reference image-to-image
จุดเด่นที่เพิ่มเข้ามาคือ layout control ซึ่งช่วยให้คุณระบุตำแหน่งวัตถุได้แม่นยำด้วยการเขียน bounding box ลงใน prompt เพื่อกำหนดจุดวางหรือย้ายส่วนประกอบจากภาพอ้างอิง
checkpoint แบบเปิดทั้งสองเวอร์ชันสามารถเข้าถึงได้ผ่าน FLUX.3 Image Klein collection:
| Checkpoint | คืออะไร | ค่าเริ่มต้น |
|---|---|---|
black-forest-labs/flux-3-image-klein | Time step distilled เพื่อการประมวลผลที่รวดเร็ว | 16 steps, no CFG |
black-forest-labs/flux-3-image-klein-base | Base model | 50 steps, CFG |
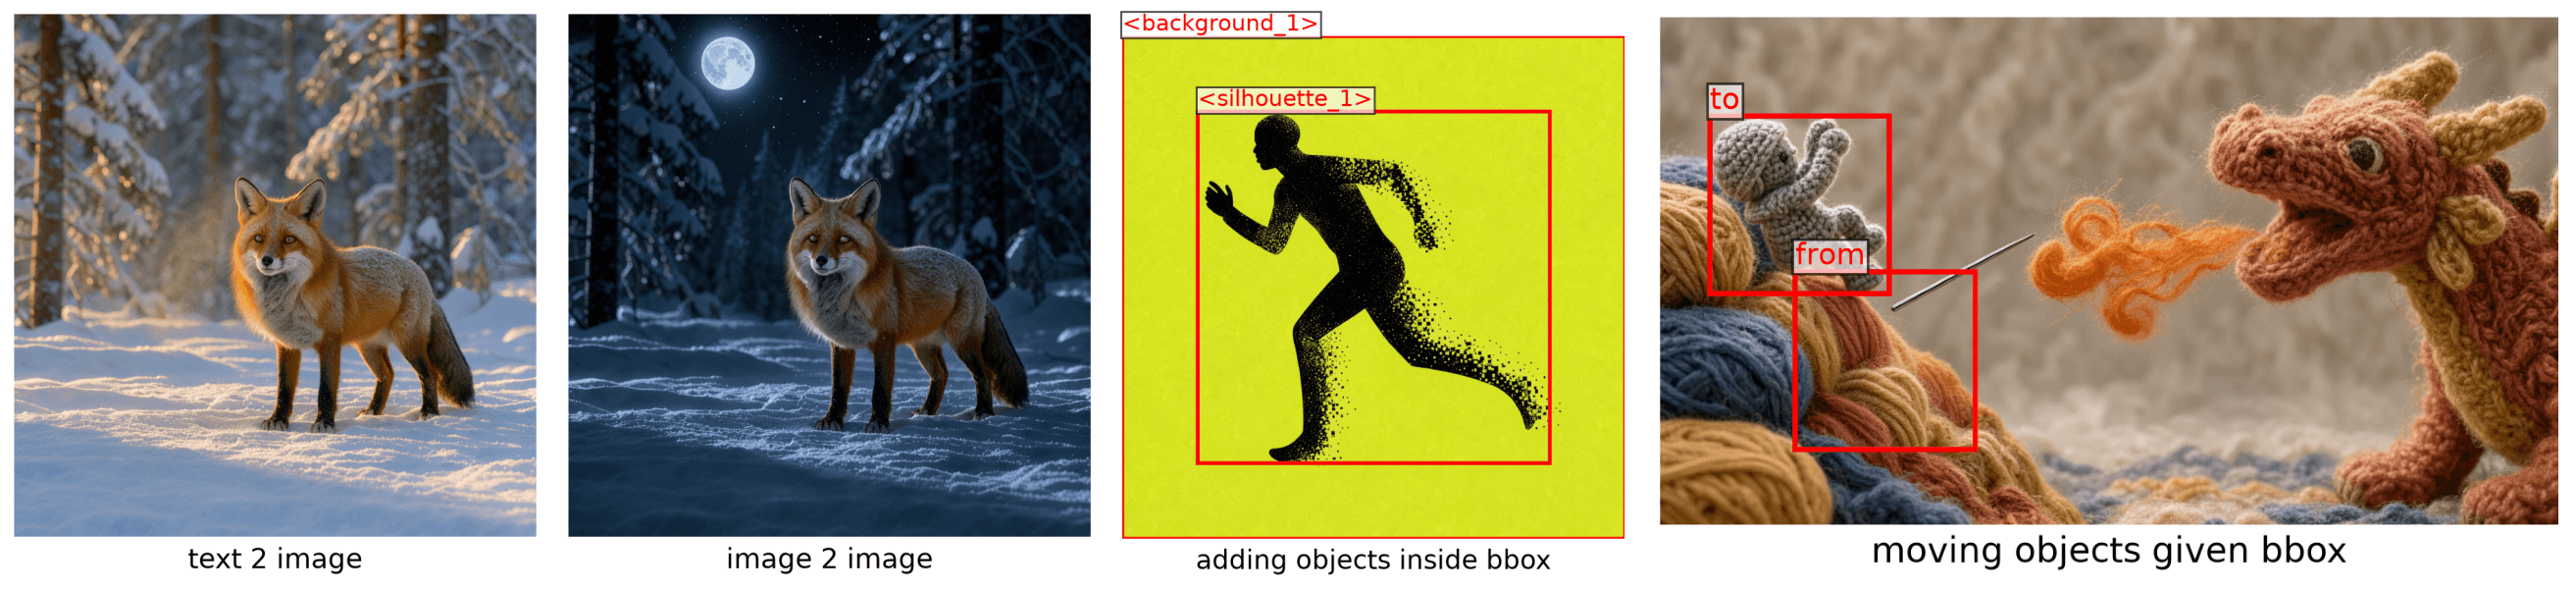
ผู้ใช้งานสามารถทดลองสร้างรูปภาพได้ทันทีที่ Hugging Face space
TL;DR
- รวมความสามารถ text-to-image, multi-reference image-to-image และการคุมเลย์เอาต์ด้วย bounding-box ไว้ในโมเดลเดียว
- checkpoint แบบ distilled สร้างภาพขนาด 1024 × 1024 ได้ในเวลาเพียง 2 วินาที บน H100
- รองรับ weight แบบ NVFP4 และ FP8 ผ่าน
from_single_fileช่วยให้รันบน GPU ขนาดเล็กได้ - มี script สำหรับเทรน LoRA ทั้งการสร้างภาพใหม่และการแก้ไขภาพ
- สถาปัตยกรรมแบบ Modular Diffusers ช่วยให้ปรับแต่งเพิ่มหรือถอด block ได้ตามต้องการ
Contents
- Getting started
- What FLUX.3 can do
- Base model and quantized variants
- LoRA finetuning
- What it costs to run
- The architecture
- Modular Diffusers
- Try it
Getting started
เริ่มต้นด้วยการติดตั้ง diffusers และ transformers เวอร์ชันล่าสุด เพื่อรองรับ Qwen3-VL text encoder:
pip install -U diffusers transformersตัวอย่างการโหลด distilled checkpoint เพื่อสร้างภาพ:
import torch
from diffusers import ModularPipeline

pipe = ModularPipeline.from_pretrained("black-forest-labs/flux-3-image-klein")
pipe.load_components(dtype=torch.bfloat16)
pipe.to("cuda")

pipe(prompt="a red fox", output="images")[0].save("fox.png")
FLUX.3 ทำอะไรได้บ้าง
Text-to-image
FLUX.3 ให้ผลลัพธ์ดีที่สุดเมื่อใช้คำบรรยายฉากที่ละเอียด ทั้งตัวแบบ แสง และองค์ประกอบ โดยสามารถศึกษาเทคนิคเพิ่มเติมได้จาก คู่มือการเขียน prompt อย่างเป็นทางการ ปกติ distilled checkpoint จะสร้างภาพขนาด 1024 × 1024 ใน 16 steps ซึ่งคุณสามารถปรับค่า height, width หรือ num_inference_steps ได้เอง
prompt = (
    "A wide-angle wildlife photograph of a red fox standing alert in a snow-covered forest clearing at golden hour. "
    "The fox is centered in the frame, its thick orange winter coat contrasting with the fresh white snow, breath "
    "visible in the cold air. Snow-laden pine trees fill the softly blurred background, and low warm sunlight rakes "
    "across the scene from the left, casting long blue shadows."
)

fox = pipe(
    prompt=prompt,
    generator=torch.Generator().manual_seed(0),
    output="images"
)[0]
fox.save("fox.png")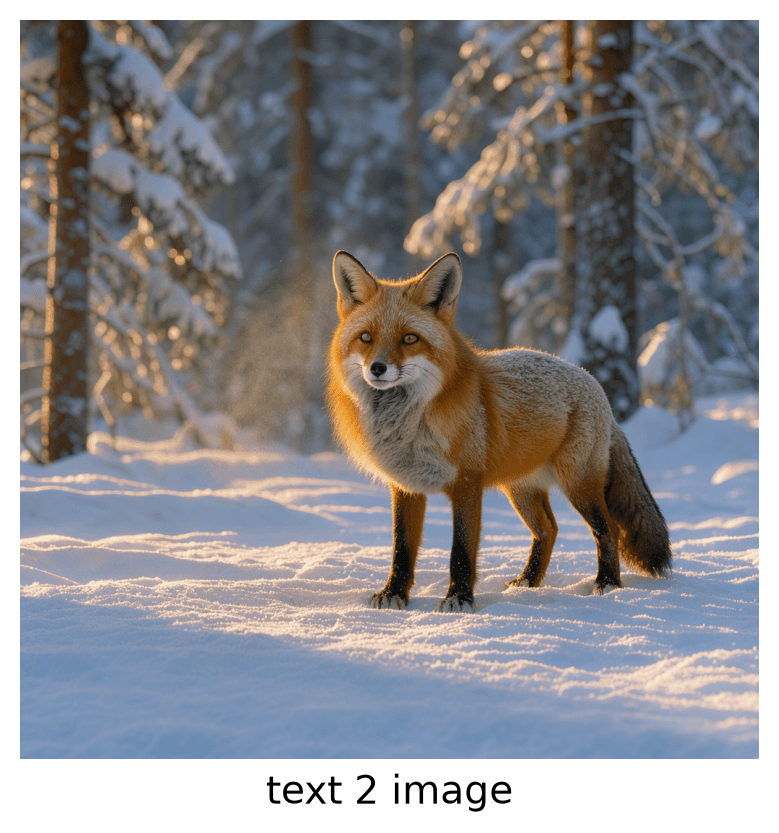 |
|---|
| Text to image |
Image-to-image
คุณสามารถส่งภาพอ้างอิงผ่านอาร์กิวเมนต์ image และเขียน prompt บรรยายผลลัพธ์ที่ต้องการเพื่อสั่งแก้ไขหรือเปลี่ยนสไตล์
prompt = (
    "The same red fox in the same snow-covered forest clearing, now at night under a full moon: cool blue "
    "moonlight, deep shadows, stars visible through the pine branches, the fox's eyes catching the light."
)
night = pipe(
    prompt=prompt,
    image=fox, # จากตัวอย่าง text to image ก่อนหน้า
    generator=torch.Generator().manual_seed(0),
    output="images",
)[0]
night.save("night.png")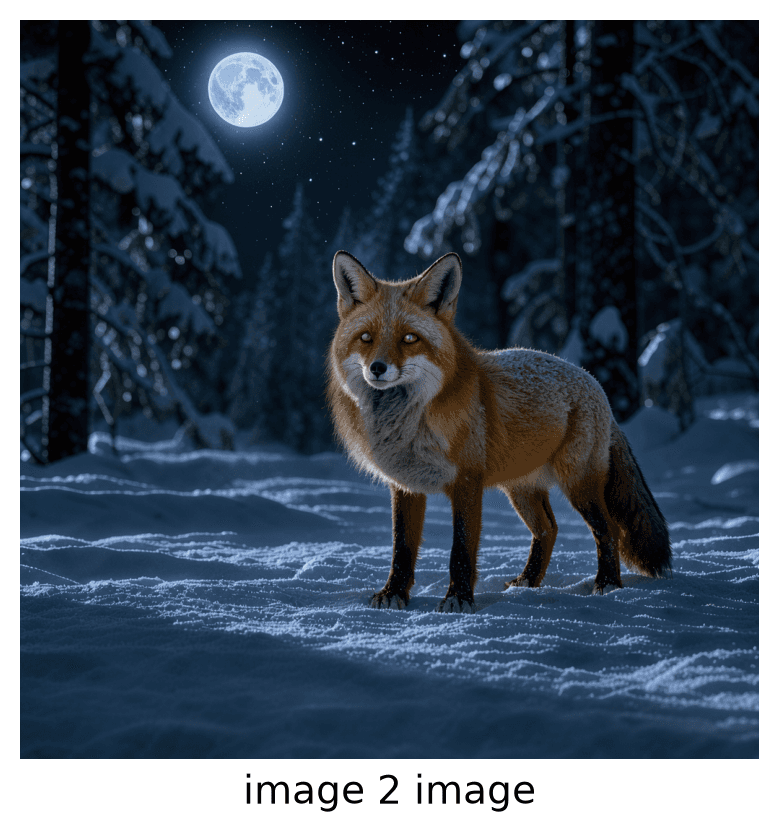 |
|---|
| Image to image |
หากมีภาพอ้างอิงหลายภาพ ให้ระบุใน prompt ด้วยโทเค็น <ref_image_0>, <ref_image_1> ตามลำดับภาพที่ส่งเข้าไปใน image ดังนี้:
red_fox = pipe(prompt="a red fox", generator=torch.Generator().manual_seed(0), output="images")[0]
bench = pipe(prompt="a wooden bench", generator=torch.Generator().manual_seed(0), output="images")[0]

combined = pipe(
    prompt="The fox from <ref_image_0> sitting on the wooden bench from <ref_image_1> in a snowy setting.",
    image=[red_fox, bench],
    output="images",
)
[0]

combined.save("combined.png")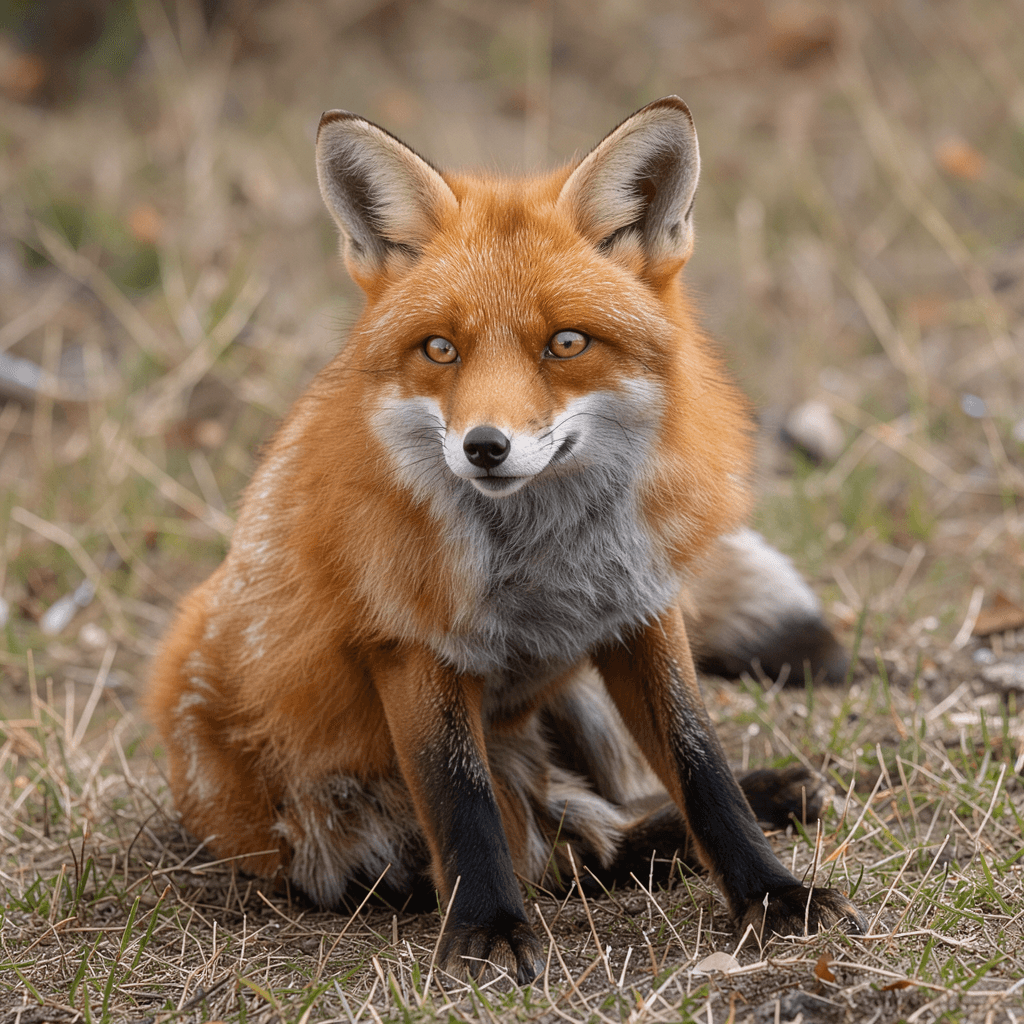 | 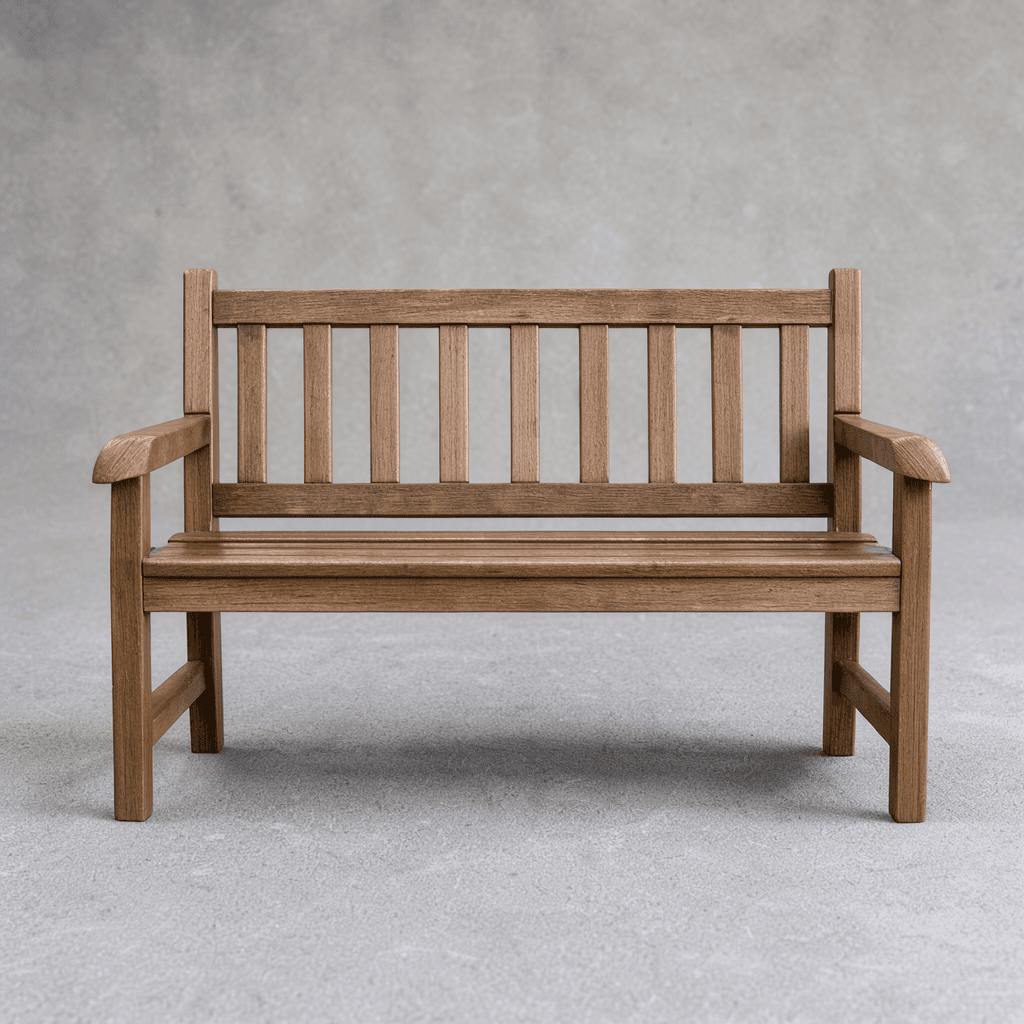 | 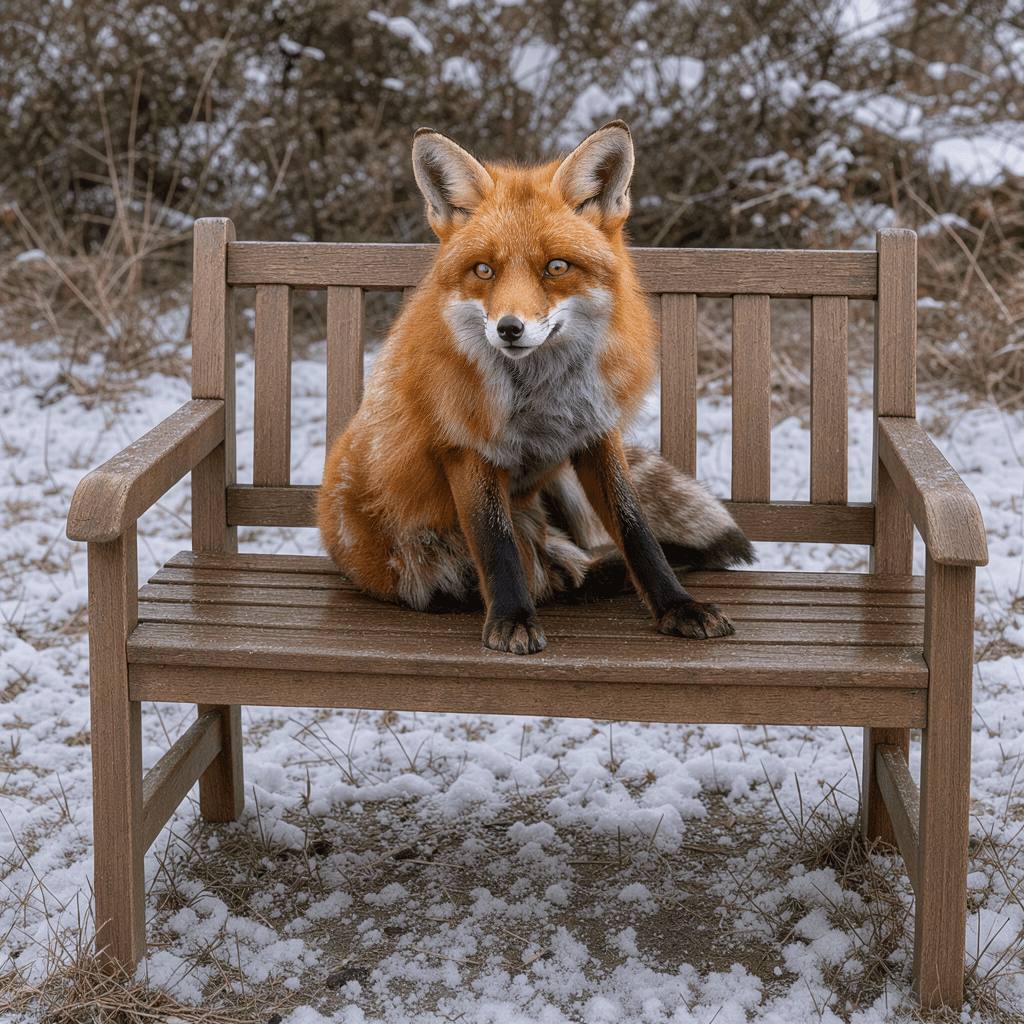 |
|---|---|---|
<ref_image_0>: สุนัขจิ้งจอกสีแดง | <ref_image_1>: ม้านั่งไม้ | สุนัขจิ้งจอกบนม้านั่ง |
Layout control
การควบคุมเลย์เอาต์ทำได้โดยใส่ข้อมูล JSON ต่อท้ายคำบรรยาย โดยระบุ id, bbox (ในรูปแบบ [y_min, x_min, y_max, x_max] มาตราส่วน 0-1000) และ desc เพื่อระบุตำแหน่งวัตถุในภาพ
การวางภูมิภาคในภาพใหม่
layout_prompt = (
    "Minimalist graphic illustration featuring a black silhouette of a person <silhouette_1> centered against a "
    "solid, vibrant chartreuse background <background_1>. The figure is captured in a dynamic, mid-stride running "
    "pose, facing toward the left side of the frame. "
    '[{"id": "background_1", "bbox": [0, 0, 1000, 1000], "desc": "A flat field of neon yellow-green with a subtle '
    'paper texture and fine, organic grain."}, {"id": "silhouette_1", "bbox": [150, 150, 850, 850], "desc": "A '
    "black silhouette of a person in motion, made of dense stippled ink. The leading edges are solid; the trailing "
    'arm and leg dissolve into coarse square pixels and scattered dots."}]'
)

runner = pipe(prompt=layout_prompt, generator=torch.Generator().manual_seed(0), output="images")[0]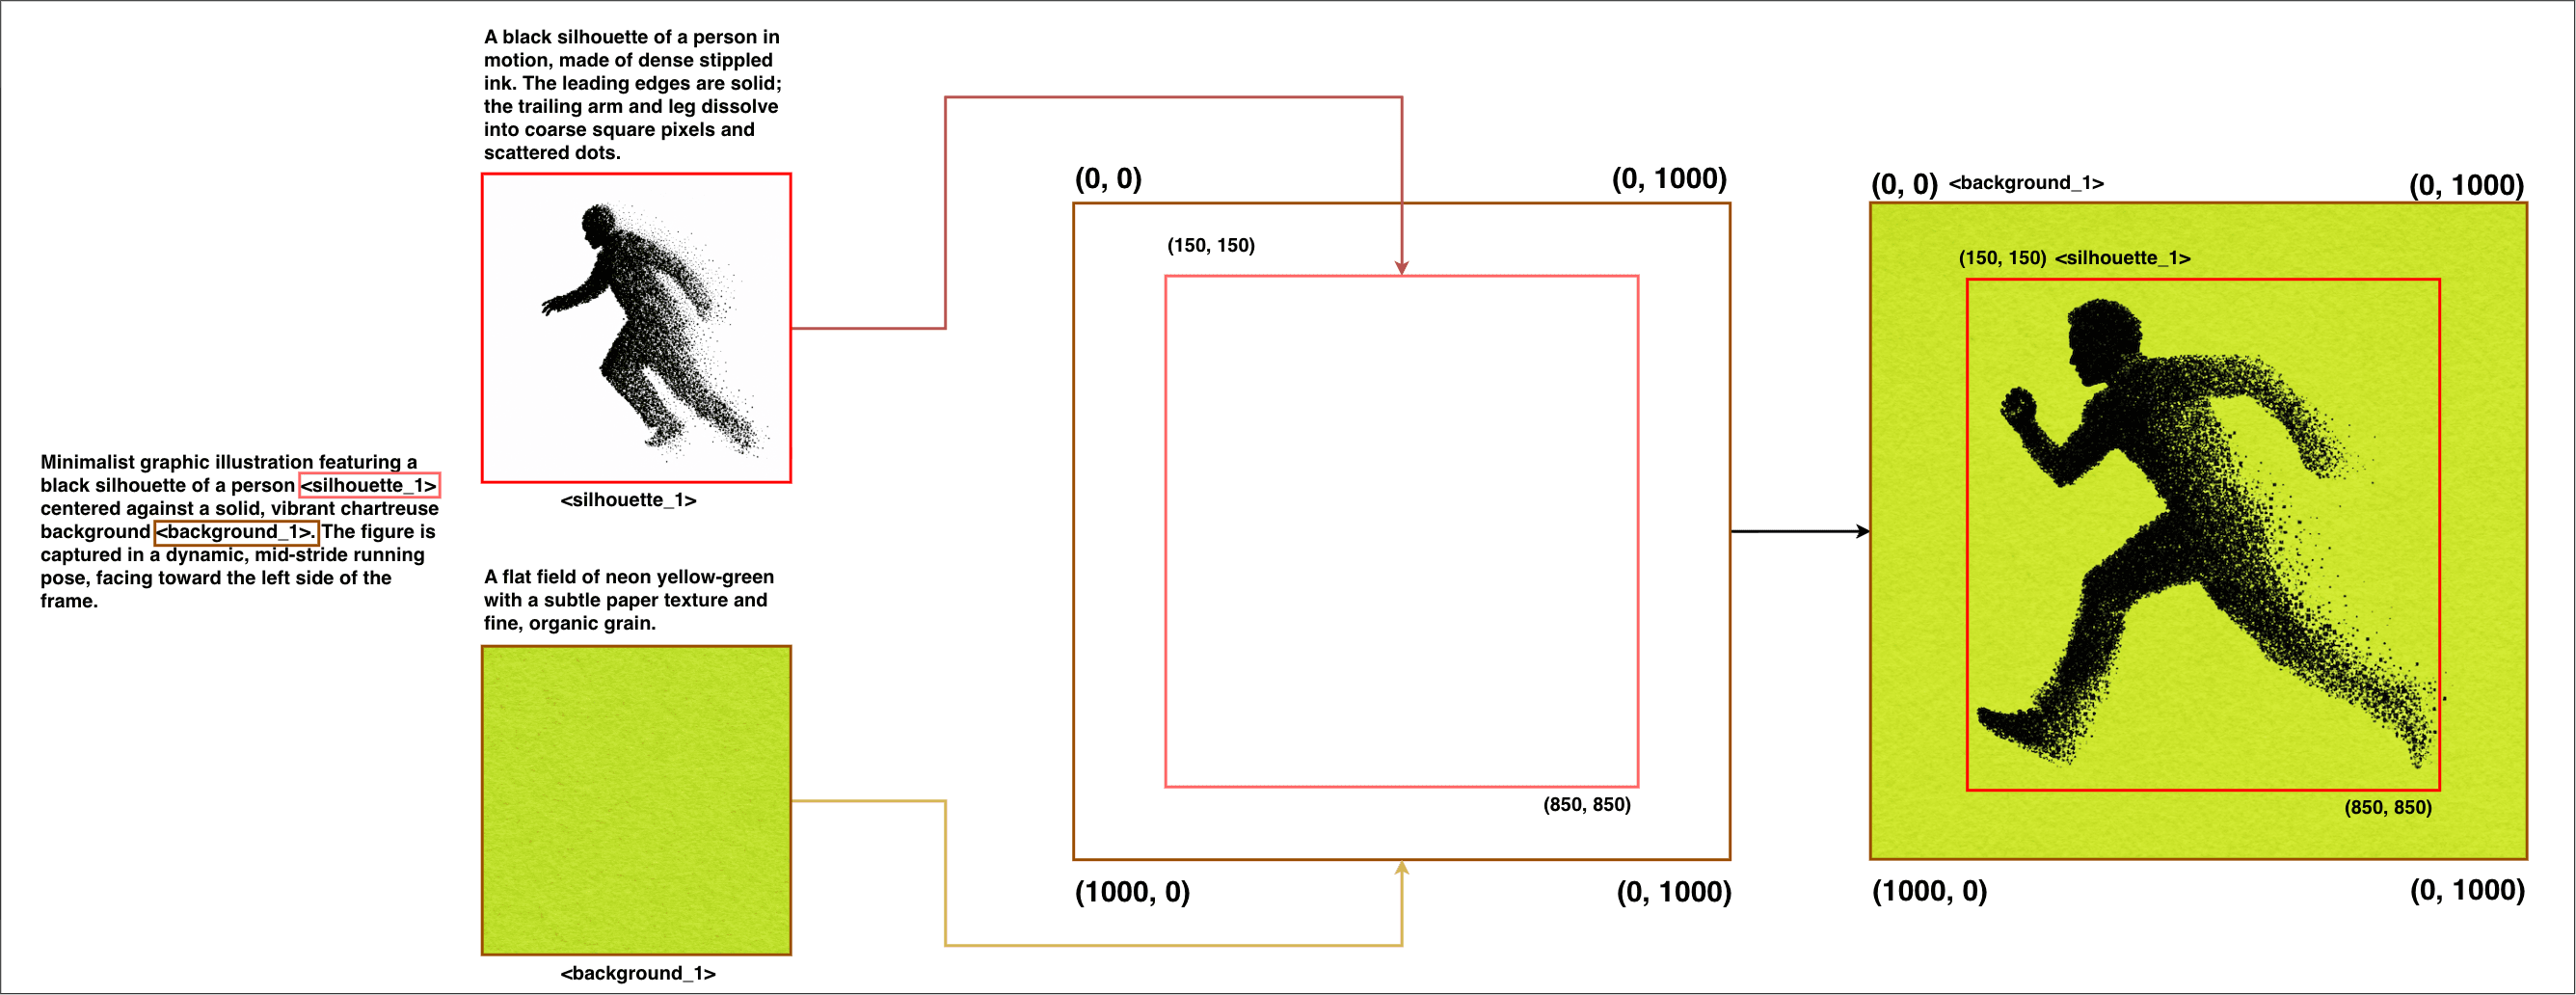 |
|---|
desc ของแต่ละภูมิภาคจะถูกวาดไว้ใน bbox ที่กำหนด |
การเคลื่อนย้ายภูมิภาคภายในภาพอ้างอิง
สำหรับการแก้ไข คุณสามารถระบุจุดต้นทาง (src_bbox) และจุดหมาย (tgt_bbox) เพื่อย้ายวัตถุได้โดยที่ส่วนอื่นของภาพยังคงเดิม
from diffusers.utils import load_image

knight_image = load_image("knight_orig.png")
edit_prompt = (
    "In <ref_image_0>, move the miniature grey amigurumi knight figure <knight_1> upwards and to the left along the "
    "yarn cliff <cliff_1>. Keep the rest of the image completely unchanged, preserving the blurred yarn backdrop "
    "<backdrop_1>, the large knitted dragon <dragon_1>, and the fiery orange thread <fire_1>. "
    '[{"id": "knight_1", "from": "ref_image_0", "src_bbox": [500, 150, 850, 350], "tgt_bbox": [194, 55, 544, 255], '
    '"desc": "A miniature amigurumi knight crocheted from thick grey woolen yarn."}, '
    '{"id": "backdrop_1", "from": "ref_image_0", "src_bbox": [0, 0, 1000, 1000], "tgt_bbox": [0, 0, 1000, 1000], '
    '"desc": "A soft, out-of-focus backdrop of cream and indigo knitted yarn."}, '
    '{"id": "cliff_1", "from": "ref_image_0", "src_bbox": [300, 0, 1000, 450], "tgt_bbox": [300, 0, 1000, 450], '
    '"desc": "A steep cliff of stacked yarn skeins in mustard, terracotta, and indigo."}, '
    '{"id": "needle_1", "from": "ref_image_0", "src_bbox": [420, 250, 550, 450], "tgt_bbox": [420, 250, 550, 450], '
    '"desc": "An oversized polished steel tapestry needle."}, '
    '{"id": "dragon_1", "from": "ref_image_0", "src_bbox": [100, 600, 950, 1000], "tgt_bbox": [100, 600, 950, 1000], '
    '"desc": "A large, fluffy knitted dragon in terracotta and mustard yarn."}, '
    '{"id": "fire_1", "from": "ref_image_0", "src_bbox": [350, 400, 650, 650], "tgt_bbox": [350, 400, 650, 650], '
    '"desc": "Curled puffs of fiery orange angora thread suspended in mid-air."}]'
)

moved = pipe(prompt=edit_prompt, image=knight_image, generator=torch.Generator().manual_seed(0), output="images")[0]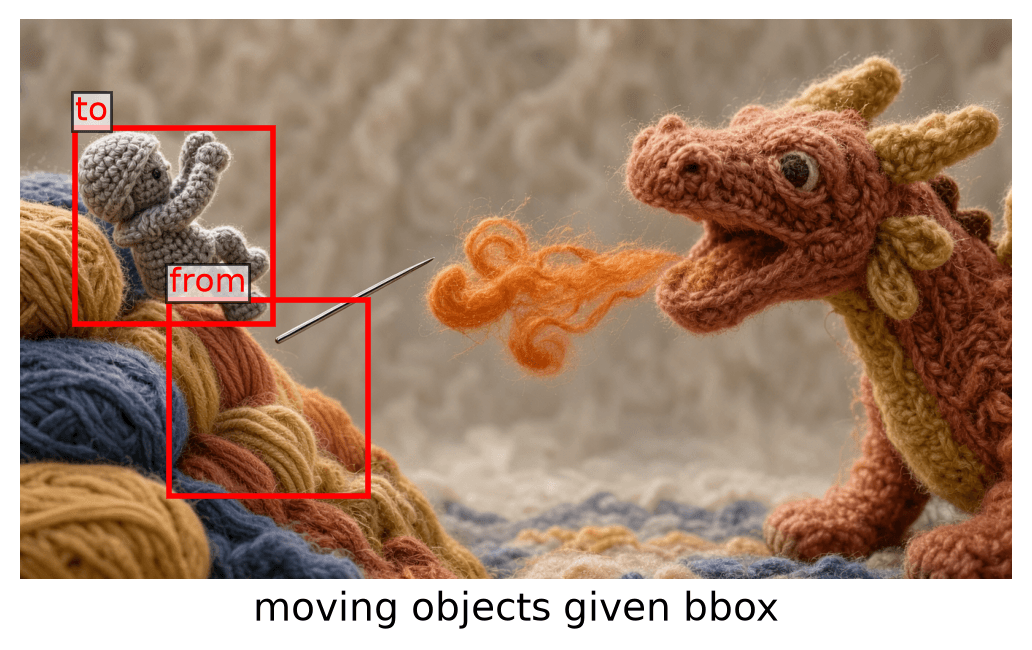 |
|---|
ย้ายอัศวินจาก src_bbox ไปยัง tgt_bbox โดยตรึงองค์ประกอบอื่นไว้ |
Base model และตัวแปรแบบ quantized
Base model
Base checkpoint จะรันที่ 50 steps พร้อม classifier-free guidance เหมาะสำหรับงานที่ต้องการคุณภาพสูงสุดหรือใช้เป็นฐานในการ fine-tune
pipe = ModularPipeline.from_pretrained("black-forest-labs/flux-3-image-klein-base")
pipe.load_components(dtype={"vae": torch.float32, "default": torch.bfloat16})
pipe.to("cuda")

pipe.guider = pipe.guider.new(guidance_scale=5.0)  # ไม่บังคับ
image = pipe(prompt=prompt, output="images")[0]
Checkpoint แบบไฟล์เดียว (Single-file format)
รองรับการโหลด transformer ในรูปแบบไฟล์เดียว ทั้งแบบ bf16 และ quantized (fp8r, nvfp4) ผ่าน from_single_file เพื่อประหยัดการดาวน์โหลดซ้ำ
from diffusers import BFLQuantizationConfig, Flux3Transformer2DModel, ModularPipeline

model_id = "black-forest-labs/flux-3-image-klein-base"
variant = "fp8r"  # หรือ "nvfp4"

transformer = Flux3Transformer2DModel.from_single_file(
    f"https://huggingface.co/{model_id}/blob/main/variants/{variant}/model.safetensors",
    config=model_id,
    subfolder="transformer",
    quantization_config=BFLQuantizationConfig(compute_dtype=torch.bfloat16),
    dtype=torch.bfloat16,
)

pipe = ModularPipeline.from_pretrained(model_id)
pipe.load_components(dtype=torch.bfloat16)
pipe.update_components(transformer=transformer)
pipe.to("cuda")| รุ่นตัวแปร | Kernel ความเร็วสูงบน | GPU อื่นๆ |
|---|---|---|
fp8r | Compute capability 8.9+ (Ada, Hopper, Blackwell) | Weight จะถูก dequantize ทีละขั้นตอน: ใช้แรมน้อยลง แต่ไม่เร็วขึ้น |
nvfp4 | Blackwell ที่ใช้ flashinfer เวอร์ชันเดียวกัน | เหมือนข้างต้น |
LoRA finetuning
FLUX.3 รองรับการทำ LoRA แบบกำหนดเองผ่าน script DreamBooth ใน diffusers ทั้งสำหรับ text-to-image และ image-to-image
ตัวอย่างการเทรนสไตล์ไพ่ยิปซี:
accelerate launch train_dreambooth_lora_flux3_klein.py \
  --pretrained_model_name_or_path="black-forest-labs/flux-3-image-klein-base" \
  --dataset_name="multimodalart/1920-raider-waite-tarot-public-domain" \
  --caption_column="caption" \
  --instance_prompt="trtcrd" \
  --output_dir="trained-flux3-tarot-lora" \
  --mixed_precision="bf16" \
  --resolution=1024 \
  --use_aspect_ratio_buckets \
  --train_batch_size=1 \
  --rank=16 \
  --lora_alpha=16 \
  --learning_rate=1e-4 \
  --lr_scheduler="constant" \
  --max_train_steps=1500 \
  --validation_prompt="a trtcrd of a cat, tarot style" \
  --validation_epochs=25 \
  --seed=0 \
  --push_to_hub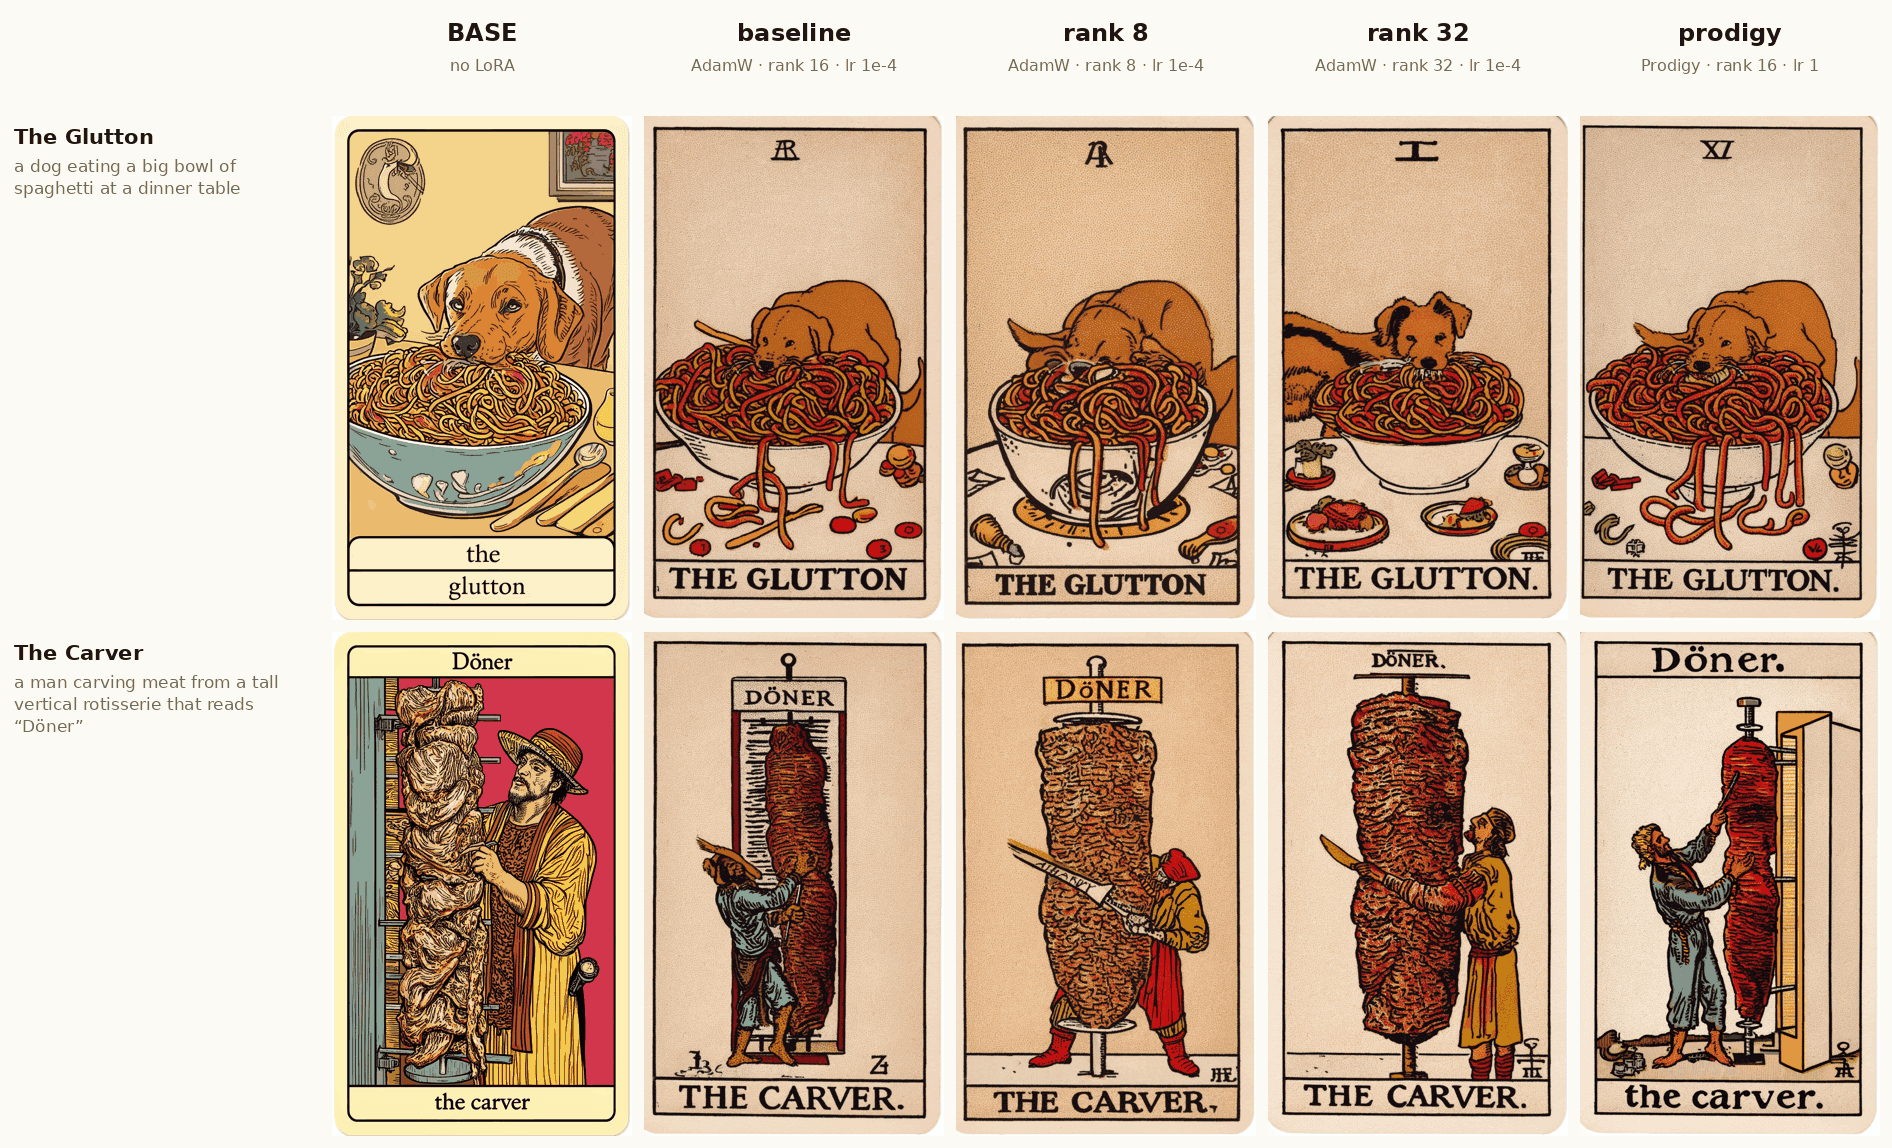
ศึกษารายละเอียดการปรับแต่งเพิ่มเติมได้ที่ DreamBooth FLUX.3 README
ค่าใช้จ่ายในการรัน
หน่วยความจำ (Memory)
| ชื่อ | ปริมาณสูงสุดที่จอง (หลังโหลด) GiBs | ปริมาณสูงสุดที่จอง (หลัง inference) GiBs |
|---|---|---|
| nvfp4 (RTX6000) | 13.4 | 15.3 |
| fp8r (H100) | 14.35 | 16.27 |
| bf16 (H100) | 18.80 | 20.72 |
หากแรมมีจำกัด แนะนำให้ใช้ quantized transformer หรือเปิดใช้งาน automatic CPU offloading เพื่อช่วยจัดการการใช้ GPU
ความเร็ว
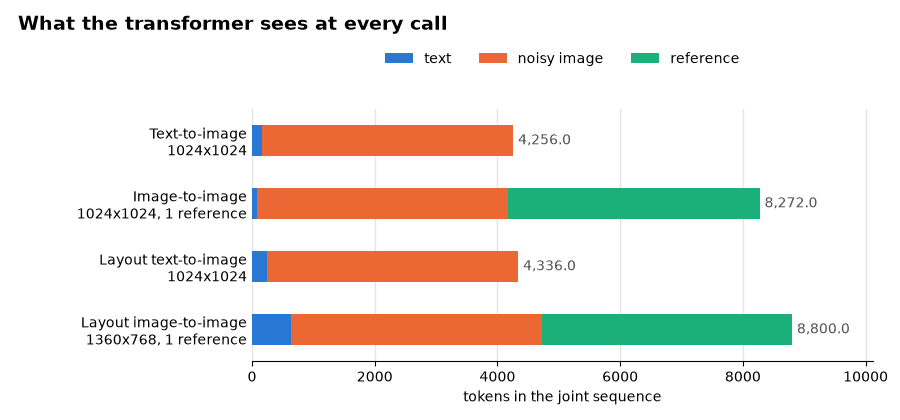
ผลทดสอบเฉลี่ยบน NVIDIA H100 80GB สำหรับ 16 steps:
| Workflow | ขนาดผลลัพธ์ | เวลา | หน่วยความจำสูงสุด |
|---|---|---|---|
| Text-to-image | 1024 × 1024 | 1.93 s | 23.8 GiB |
| Image-to-image (1 ref) | 1024 × 1024 | 3.87 s | 23.8 GiB |
| Layout editing (1 ref) | 1360 × 768 | 4.10 s | 23.8 GiB |
สถาปัตยกรรม (The architecture)
FLUX.3 ทำงานโดยรับ token 3 ประเภท คือ ข้อความ, ภาพที่มี noise และภาพอ้างอิง
กลไกการประมวลผล
- จากพิกเซลเป็น token: ใช้ VAE บีบอัดภาพลง 8 เท่า โดยหนึ่ง token จะครอบคลุมพื้นที่พิกเซล 16 × 16
- Text Encoding: ใช้ Qwen3-VL อ่าน hidden state จาก 8 เลเยอร์เพื่อให้ transformer เข้าถึงฟีเจอร์ภาษาในระดับความลึกที่ต่างกัน
- ขั้นตอนการประมวลผล: แบ่งเป็น 2 ขั้นคือ per-mode blocks (แยกประมวลผลตามประเภทข้อมูล) และ joint blocks (รวมทุกอย่างเพื่อทำ attention ร่วมกัน)
- Timestep: token ภาพที่มี noise จะถูกคุมด้วย timestep
tส่วนข้อความและภาพอ้างอิงจะอยู่ที่ timestep 0 เสมอ เพื่อเป็นบริบทที่สะอาด - ตำแหน่ง 4 มิติ: ใช้ RoPE หมุนโทเค็นตามแกน
(t, h, w, l)ทำให้โมเดลเข้าใจตำแหน่งที่แม่นยำของวัตถุ

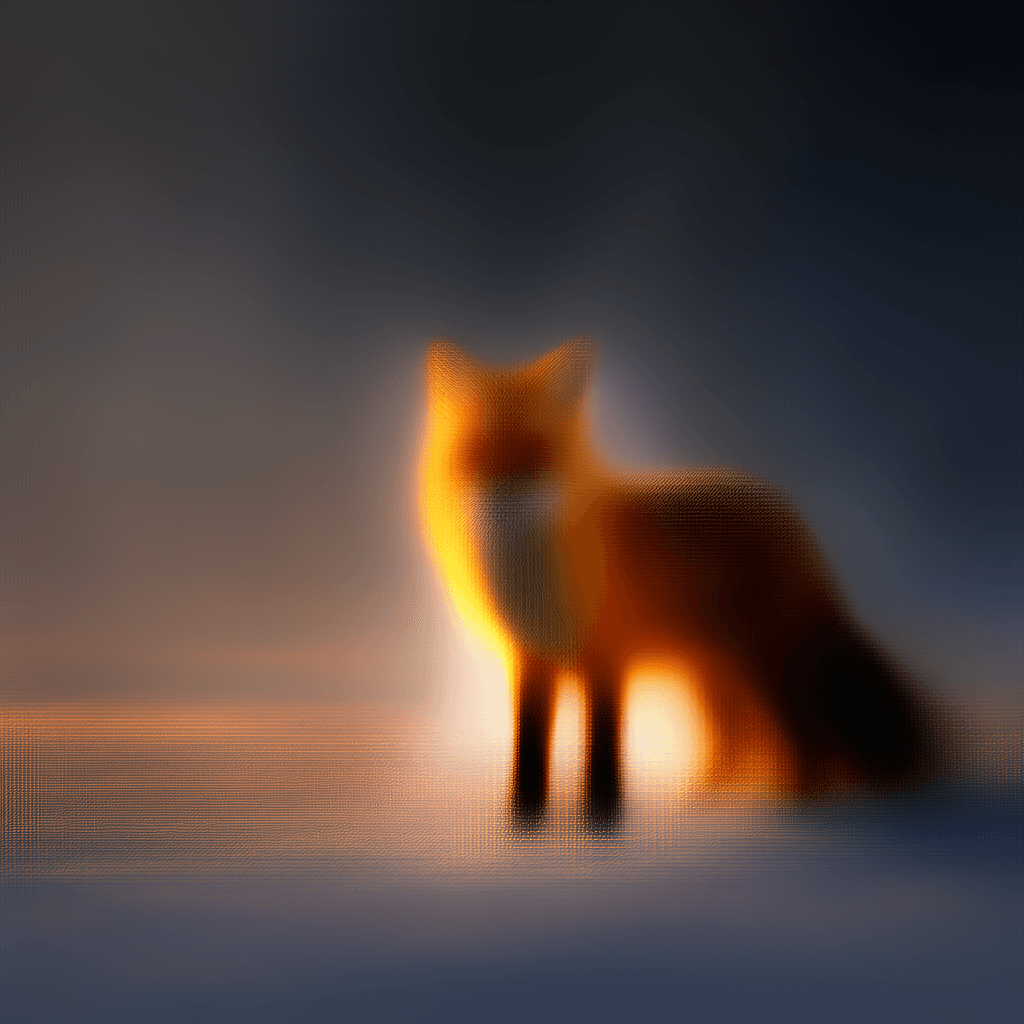
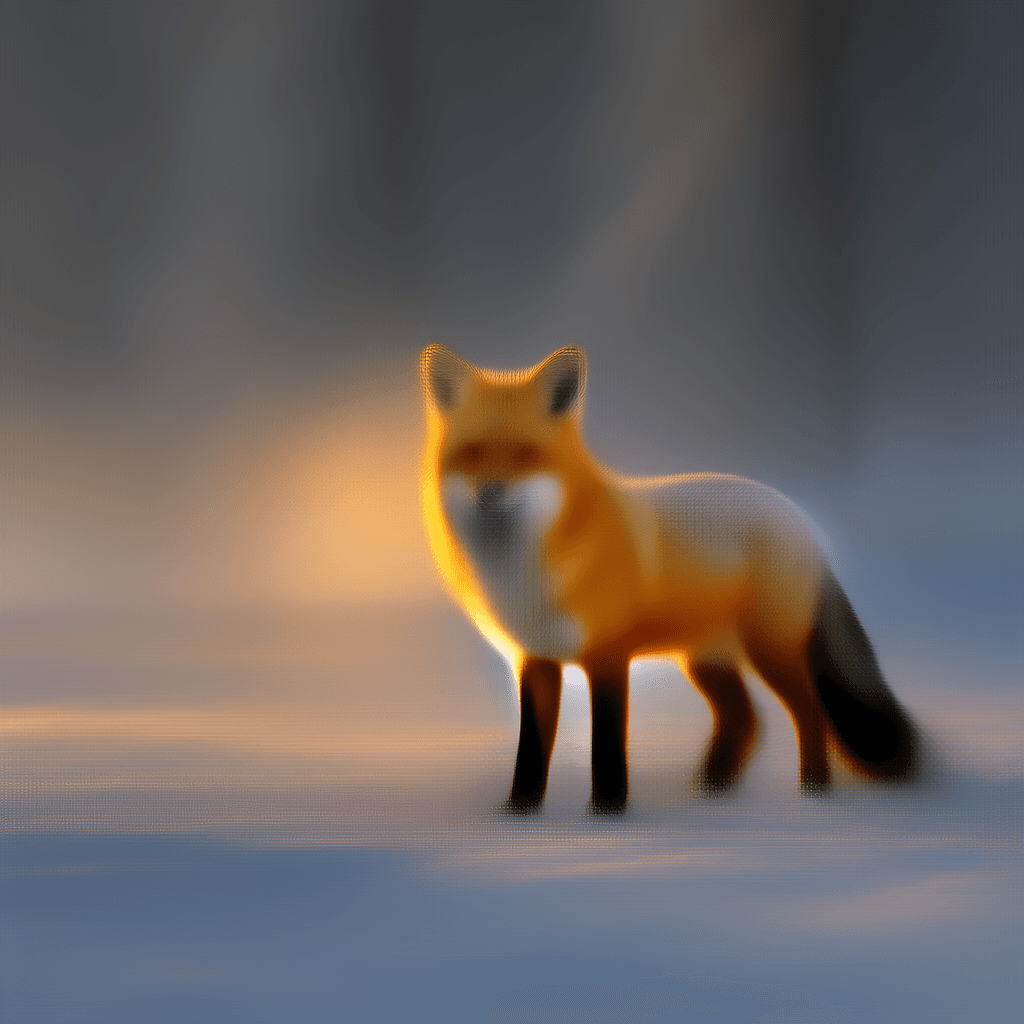
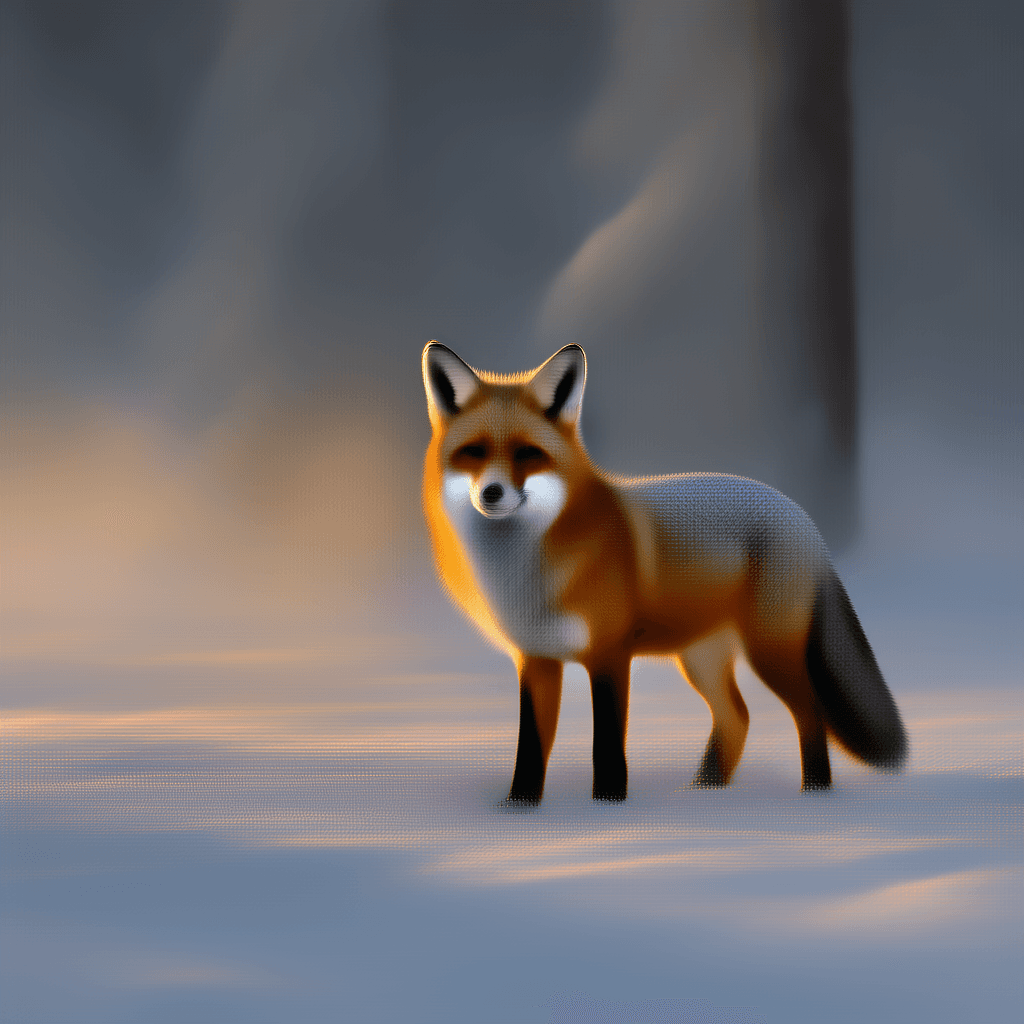
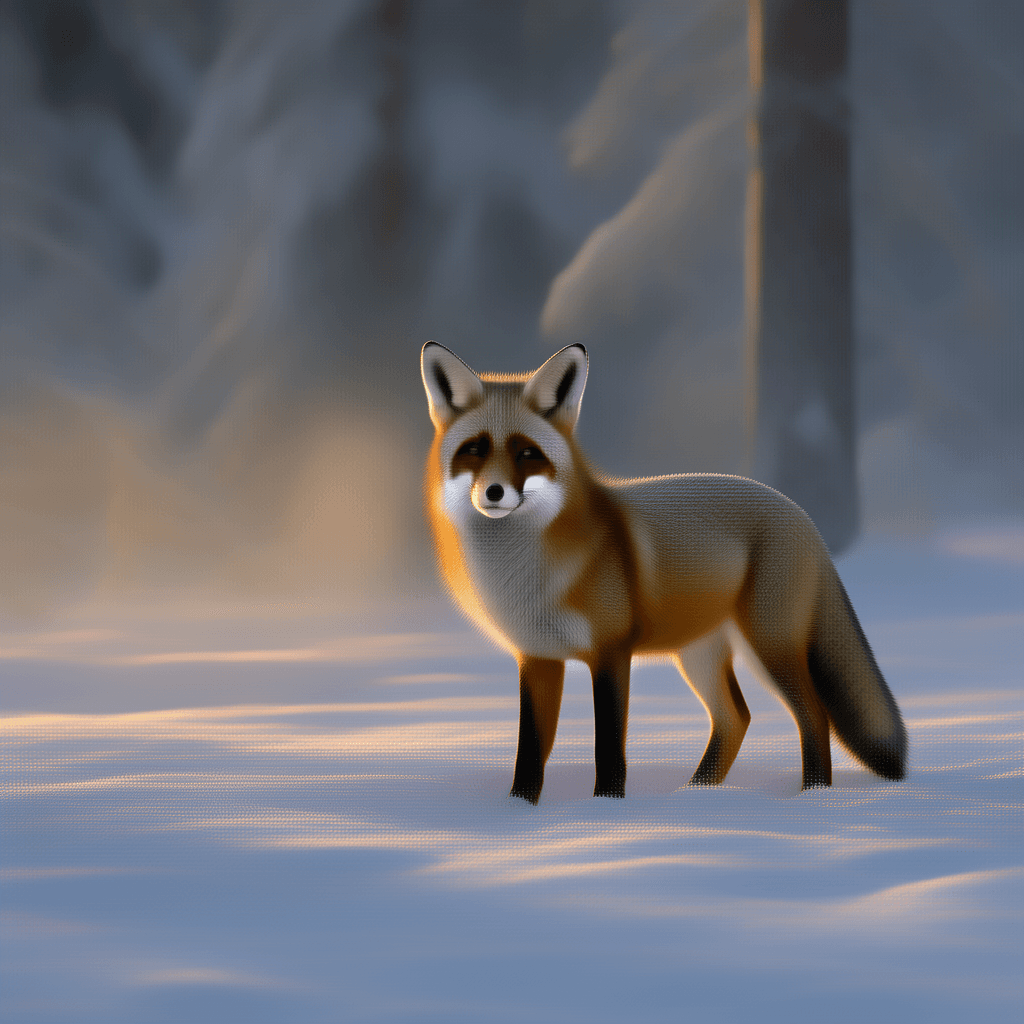
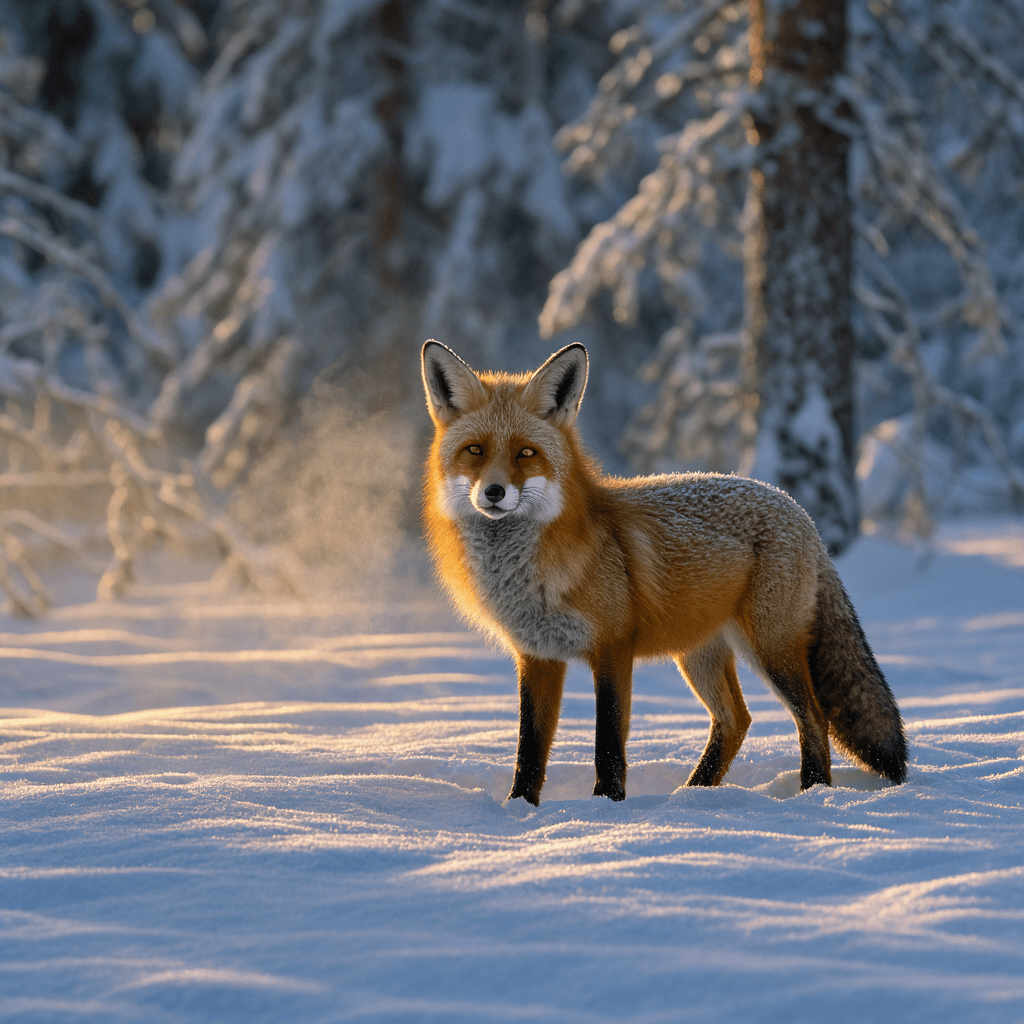 แสดงภาพค่อยๆ เป็นรูปเป็นร่างในแต่ละขั้นตอนการทำ denoising
Modular Diffusers
การใช้รูปแบบ Modular ช่วยให้ผู้ใช้ปรับแต่งกระบวนการทำงานได้ยืดหยุ่น เช่น การ Encode ข้อความเพียงครั้งเดียวเพื่อสร้างภาพหลายใบ (Encode once, generate many) หรือการแทรก block พิเศษเข้าไปในลูปการสร้างภาพเพื่อบันทึกสถานะระหว่างขั้นตอน
ลองเลย
- โมเดล: FLUX.3 Image Klein collection
- เอกสาร: FLUX.3 in Diffusers
- Fine-tune: DreamBooth LoRA scripts
- การเขียน Prompt: Black Forest Labs prompting guide
ความคิดเห็น (0)
เข้าสู่ระบบเพื่อร่วมแสดงความเห็น
สมัครสมาชิกมาเป็นคนแรกที่แสดงความเห็นกันเลยโบร